Knee pain after hiking is not uncommon. Especially downhill, the strain on the knee joints is high. If pain follows every hike, the joy of mountain sports is quickly over. However, there are techniques to minimize the strain. We will show you how to hike downhill correctly and what options there are for relief, prevention and aftercare.
Pain in the knee is usually due to overloading. By the way, even experienced mountaineers and tour guides are affected by this from time to time. This is due to the human anatomy, because the entire body weight rests on the knees – when going downhill, it even increases several times over. As a result, irritation and knee pain can occur during or after going downhill.
Reasons for knee problems after hiking
The patellar tendon is usually responsible for complaints. It connects the thigh muscle to the tibia via the kneecap. It is stressed with every movement of the knee joint. If the strain is too high, it becomes irritated and can become inflamed. This becomes noticeable through pain at and below the kneecap.
Another reason for knee pain can be that the kneecap does not move exactly in its intended groove. This then leads to increased wear and tear of the cartilage, which can lead to osteoarthritis and also hurts.
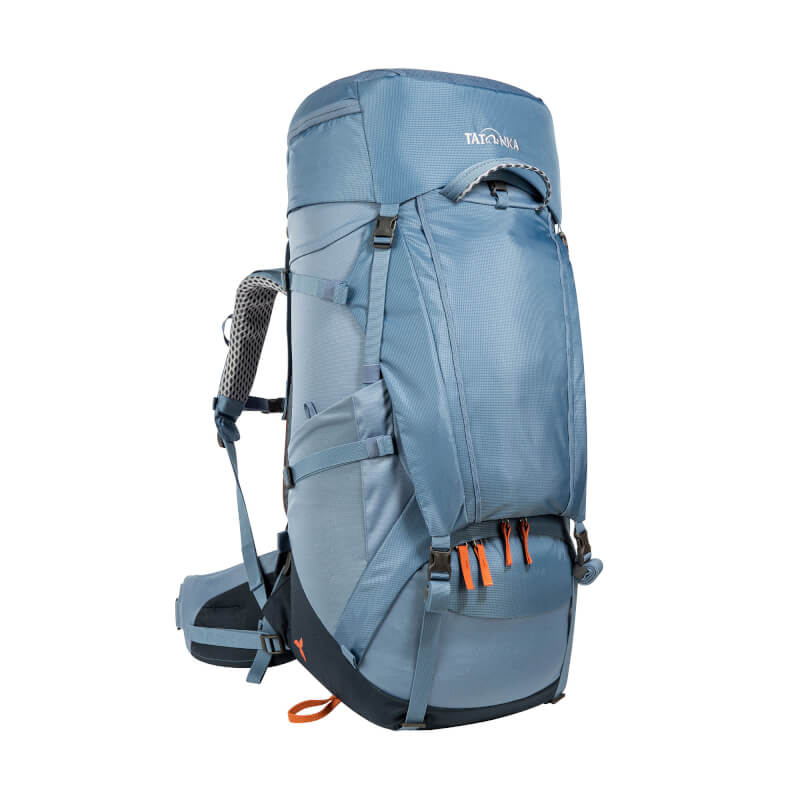
At Tatonka you are sure to find the right backpack for your next tour. Whether small and light, for a day trip with via ferrata or with adjustable carrying system and high volume for trekking tours.
In most cases, the pain subsides quickly after hiking. If you are symptom-free the next day, there is nothing to worry about. However, if the pain persists, you should consult a doctor. To prevent this from happening in the first place, the following tips will help you:
Save weight – protect your joints
The first tip is obvious: If you carry a lot of luggage, you put extra strain on your knees. Therefore, make sure to use a light hiking backpack and not to carry unnecessary weight. Here you can find a packing list for day trips. Your hiking boots should also not be unnecessarily heavy and have sufficient cushioning.
Tip: Liquid is heavy, but indispensable. Use a hydration bladder to save weight.
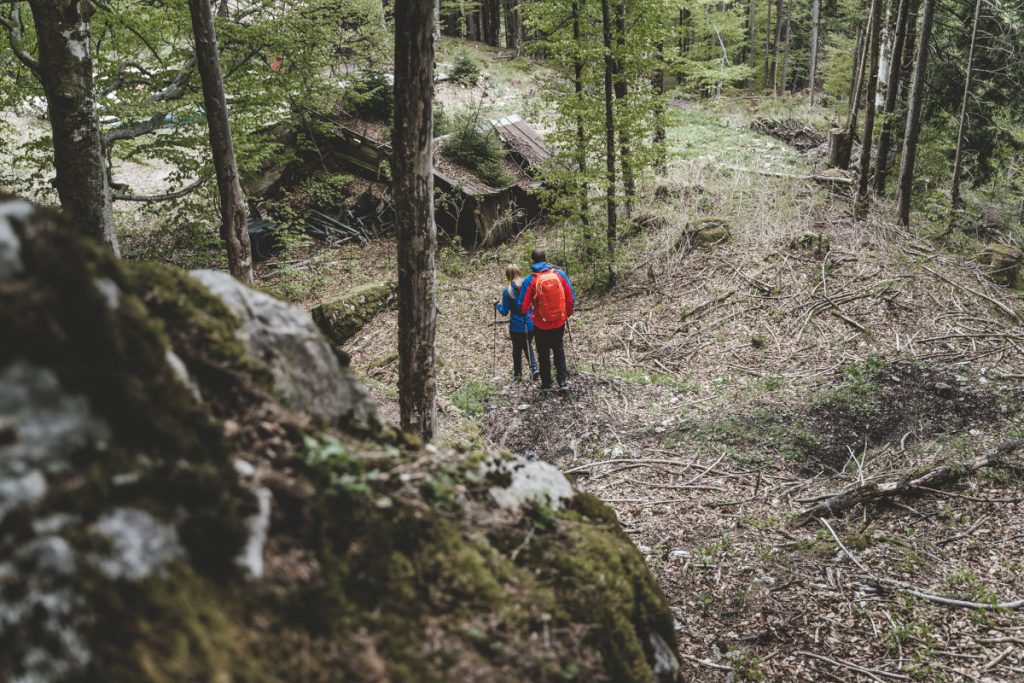
Route planning: Avoid steep descents and take care of your knees
IIf you already have joint problems, you should avoid tours with long, steep descents from the outset. You can read the intensity of the descent on the altitude profile of your hiking map or your online route planner. To avoid descents in general and still not have to give up mountain hikes, you can also choose a route with a cable car, so that the gondola takes you back to the valley.
The right pre- and aftercare for your knee joints
A short warm-up and stretching before the hike prepares your muscles and tendons for the following load and can prevent discomfort. To do this, gently squat deeply a few times. You can also stand on your toes a few times and then slowly roll your foot. After the hike, you should stretch extensively.
In general, regular strength training is important so that your muscles are able to cope optimally with the stresses of mountain hiking. The stronger the muscles, the less strain there is on joints and tendons.
Also interesting: How to treat and avoid blisters
The right technique for walking downhill
For the correct walking technique when descending, one thing above all is important: stay loose! If you are tense and anxious, you make yourself stiff. This is not only bad for the knee joints, but also increases the risk of falling.
Try to take small springy steps – not long hard steps. Moving downhill in a loping, almost prancing motion puts the least stress on your joints. It also reduces the risk of slipping – such an uncontrolled jerky movement is especially bad for your joints. Bend your knees slightly with each step.
You should place your foot on the heel, then roll it over the middle of the foot and the ball of the foot.
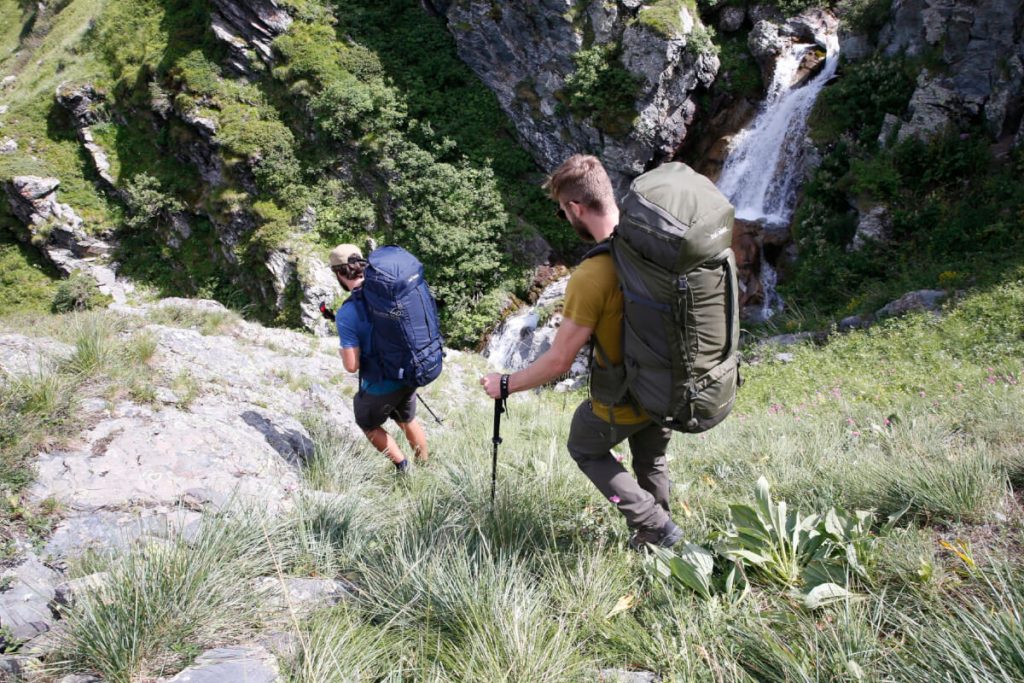
Your upper body should tend to point forward when walking downhill. The often observed backward position puts additional strain on the knee joints and you will fall backwards more easily if you should slip away.
Hiking poles protect the knees
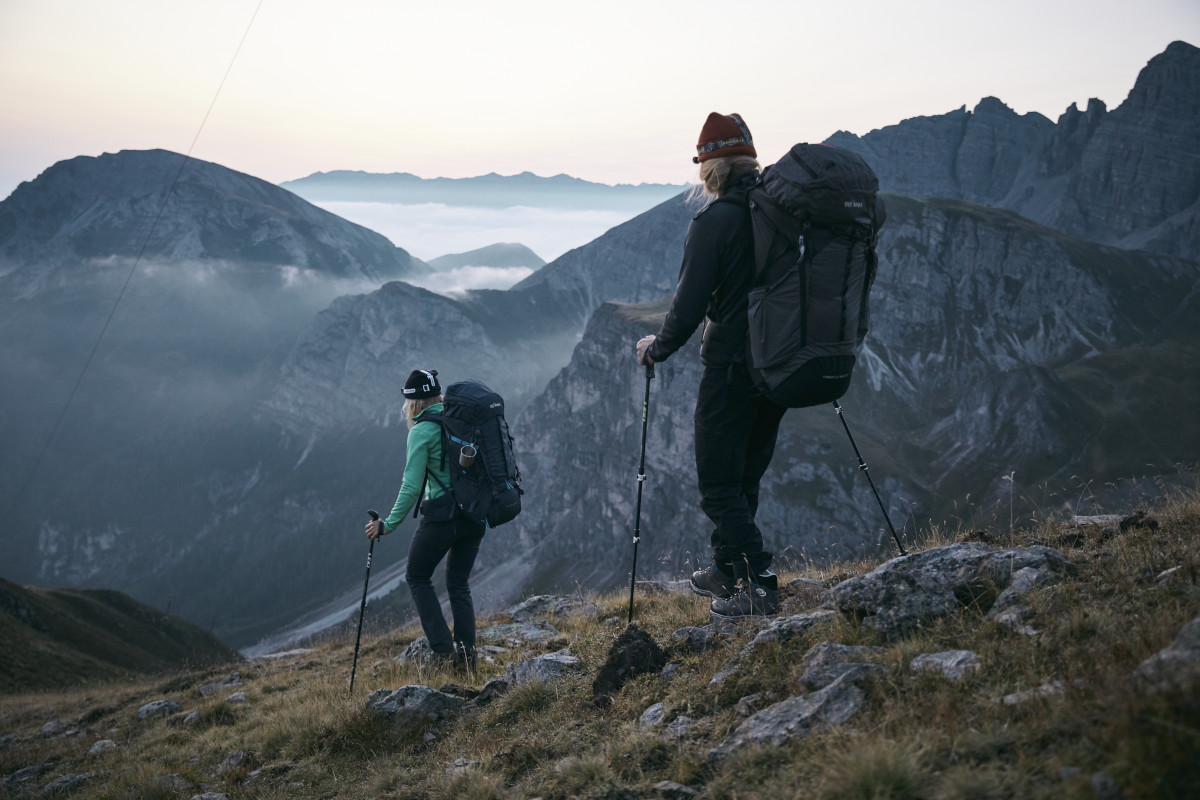
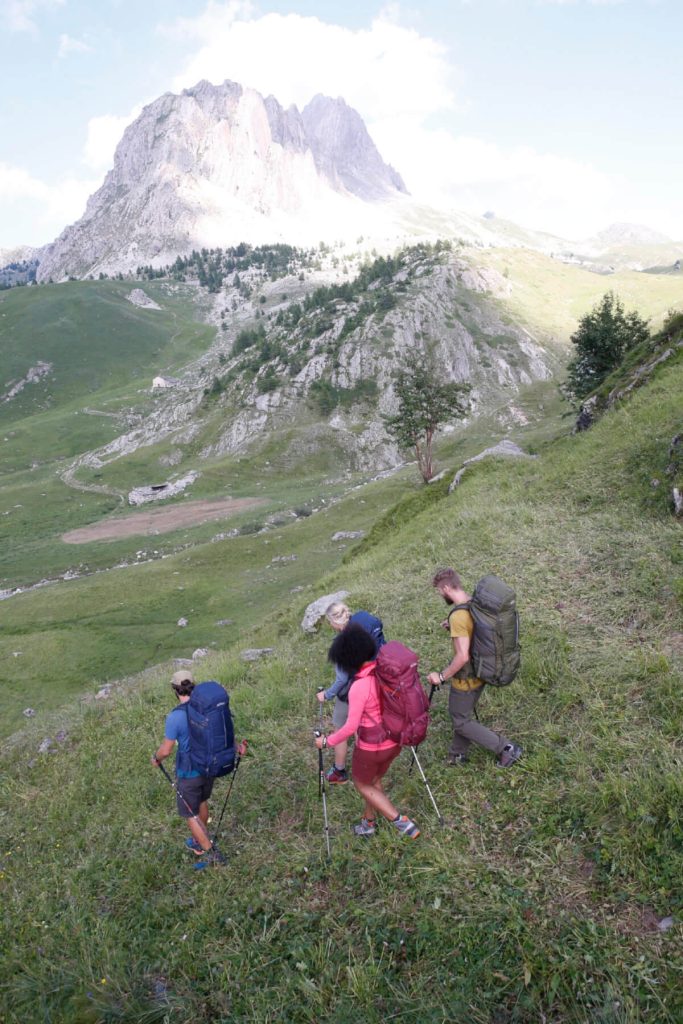
Hiking poles provide significant relief when walking downhill. This is particularly noticeable on higher edges. But hiking poles are also a joint-friendly companion on even hiking trails.
It is important that you use the right poles and adjust them correctly (a 90-degree angle at the elbow is optimal, while the poles touch the flat ground vertically).
However, you should not use your trekking poles all the time. Especially when walking uphill, you can store them in your backpack. This way you train your sense of balance and don’t rely too much on the poles.
Bandage or tape – both can support your knee joint
A suitable bandage or a professionally applied tape can also be a good support for the knee. It’s best to ask your orthopedist for advice.
Regular strength training relieves the joints
For long-term improvements and fewer complications with your knee joints, you should regularly incorporate strength training into your daily routine. A certain basic strength is necessary in order to have enough strength left for the descent, which is usually at the end of a long hike. This is the only way your muscles can properly absorb the shocks when going downhill. If your muscles are already completely tired, the cushioning no longer works properly and the “impact” with each step is passed on to the joints without braking. With targeted strength training, you can strengthen your leg muscles and relieve the strain on your knees in the long term.
Avoid knee pain after hiking – All tips at a glance:
- Save weight
- Avoid steep descents
- Stretch muscles and tendons before hiking
- Take small steps and cushion them well
- Use walking sticks
- Use bandages or tapes
- Regular strength training


