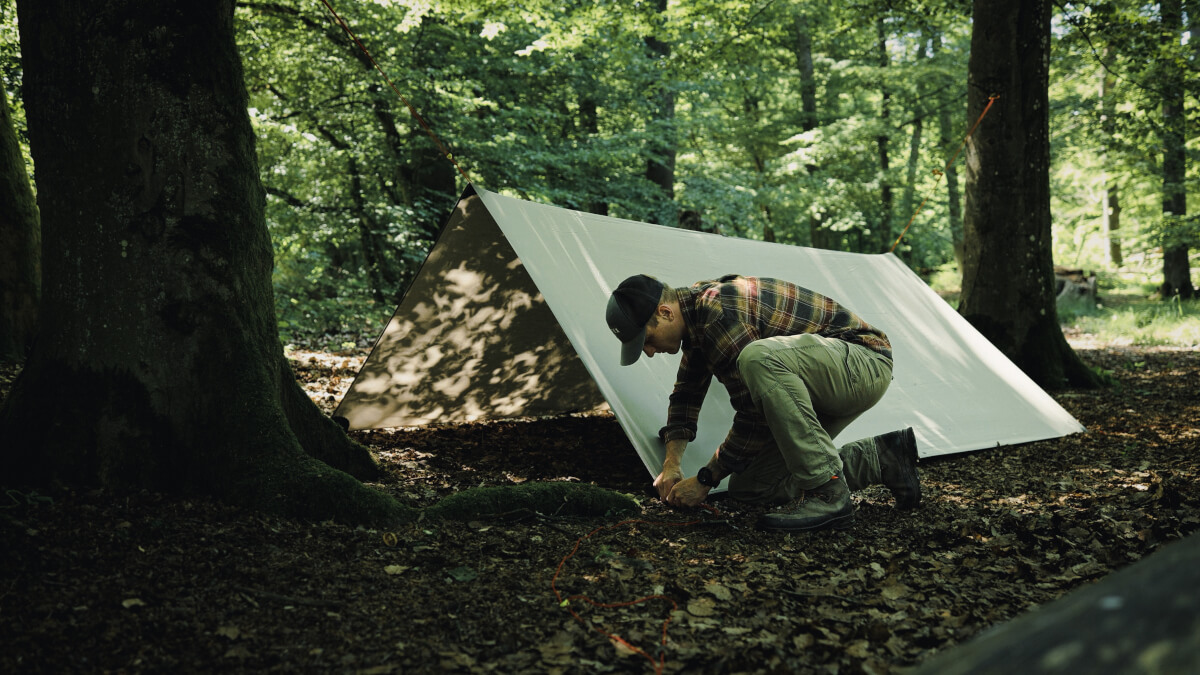
A post by guest author Julius Battenfeld
Outdoor Tarps are indispensable companions for all outdoor activities. Whether camping, hiking, picnics or outdoor events, they provide reliable protection from the elements and serve as a versatile tool.
When it comes to outdoor tarps, there are many different shapes, sizes, materials, advantages and disadvantages, setup variations, & knotting techniques, as well as many helpful tips & tricks to simplify use and get the most out of a tarp.
Info: The term “tarp” is a shortened form of the English word “tarpaulin”. The word “tarpaulin” has its origin in the 17th century and comes from Dutch (“zeildoek”) and French (“toile bâchée”).
Shapes and sizes
Outdoor tarps are available in a variety of shapes, including square, rectangular, hexagonal, and custom varieties. From compact single tarp designs such as our Wing 1 LT, which are ideal for solo adventures, to large-scale tarp designs such as the TC1 and TC2, which provide ample space for group activities, there’s something for everyone.
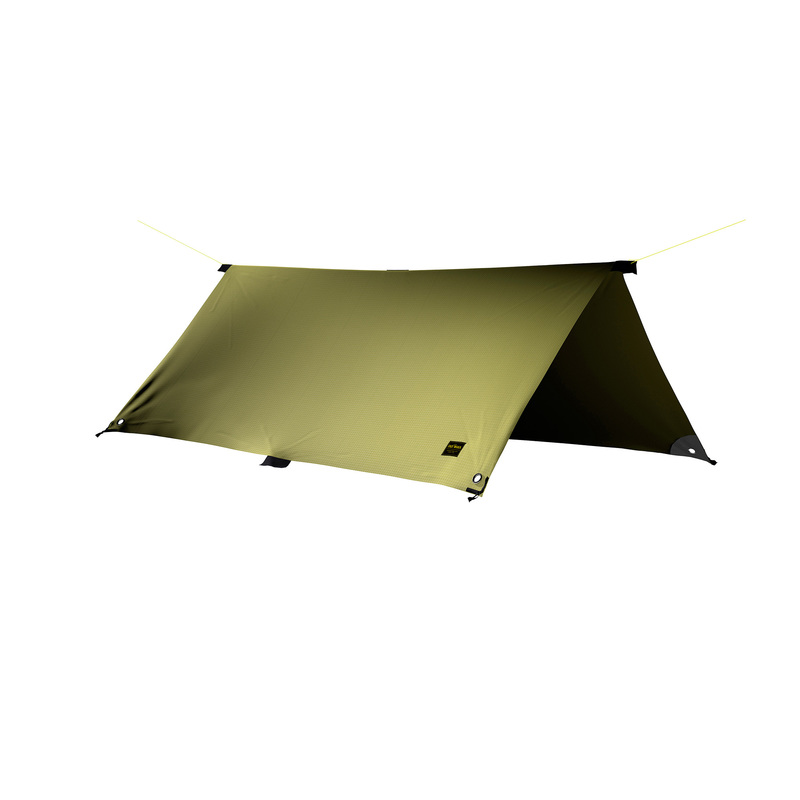
You’ll find the right tarp at Tatonka. Whether light nylon or robust polyester-cotton tarps. In different sizes and shapes.
Materials
Choosing the right material is critical to the durability and effectiveness of an outdoor tarp. High-quality tarps are made of durable materials such as nylon/silicone nylon, polyethylene (PE), polyvinyl chloride (PVC) or canvas/polycotton.
PE tarps are ideal for temporary applications because they are lightweight yet durable. PVC tarps provide long-term, rugged protection from the elements.
Nylon is a lightweight and durable material often used in the manufacture of tarps. It is known for its high tensile strength and abrasion resistance, which means it is strong enough to withstand the elements and last a long time. Nylon tarps are also water repellent and provide some protection from rain. They are lightweight and compact, making them ideal for backpacking and other outdoor adventures where weight and luggage space are limited. Nylon tarps are typically less expensive than other materials, making them an affordable option for outdoor enthusiasts.
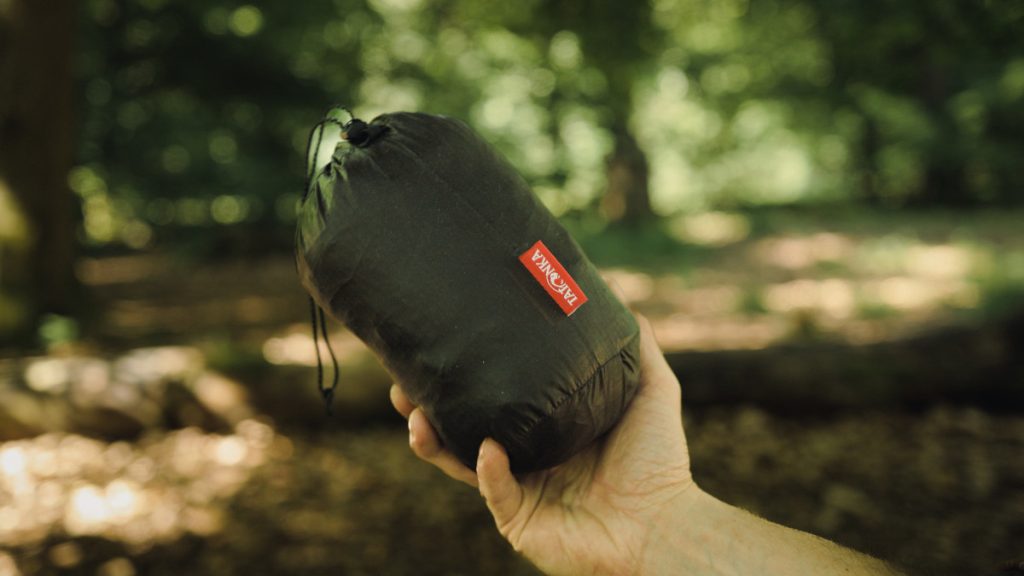
SilNylon, also known as silicone-coated nylon, is an evolution of traditional nylon. It is made by applying a silicone coating to the nylon material. This coating gives SilNylon additional properties that make it even more weather resistant. SilNylon tarps are extremely waterproof and provide reliable protection from heavy rain and other wet conditions.
The silicone coating also improves the material’s UV resistance, which helps the tarp last longer and protect against fading and degradation from sun exposure. SilNylon tarps are lightweight and compact, similar to nylon tarps, making them well suited for backpacking and other outdoor activities.

Both materials, nylon and SilNylon, have their own advantages and disadvantages. Nylon tarps are usually less expensive, while SilNylon tarps offer higher water resistance and UV resistance. The choice between the two depends on individual needs and intended use. If maximum waterproofing and weather resistance are important, SilNylon is the best choice. If weight and price are primary concerns, nylon may be a good option.
It’s important to note that both materials have their limitations and in extreme weather conditions may require additional measures such as adding guy ropes, sealing seams, or adding extra underlayment to provide the best possible protection.
PolyCotton tarps offer a balance of durability and breathability. The combination of polyester and cotton in the PolyCotton Tarp fabric combines the positive properties of both materials.

The fabric is durable, hard-wearing and resistant to the elements. It provides protection from sun, rain and wind. The water repellent properties of polyester ensure that the fabric does not get soaked easily, while the breathability of cotton wicks away moisture and reduces condensation.
Advantages and disadvantages of outdoor tarps
Outdoor tarps offer numerous advantages for outdoor enthusiasts. They are lightweight, portable and easy to set up.
Tarps are often less expensive than other options for outdoor shelter, making them accessible to many adventurers. They allow for quick setup and provide quick shelter and protection in unpredictable weather. However, tarps also have some drawbacks.
They offer limited insulation, so they may not provide enough warmth in extremely cold conditions without additional layers of insulation. In addition, they can be susceptible to wind if not properly secured.
Choosing a high-quality tarp and securing it properly are therefore important to minimize these drawbacks.
Tarp set-up variations
Outdoor tarp setups are extremely diverse and can vary depending on the desired purpose and the weather. Here are some common set-up options:
- A-Frame: This setup option is ideal when an A-shaped shelter is needed. The center of the tarp is attached to a permanent structure, ridge line or tree, while the sides are anchored to the ground with pegs.
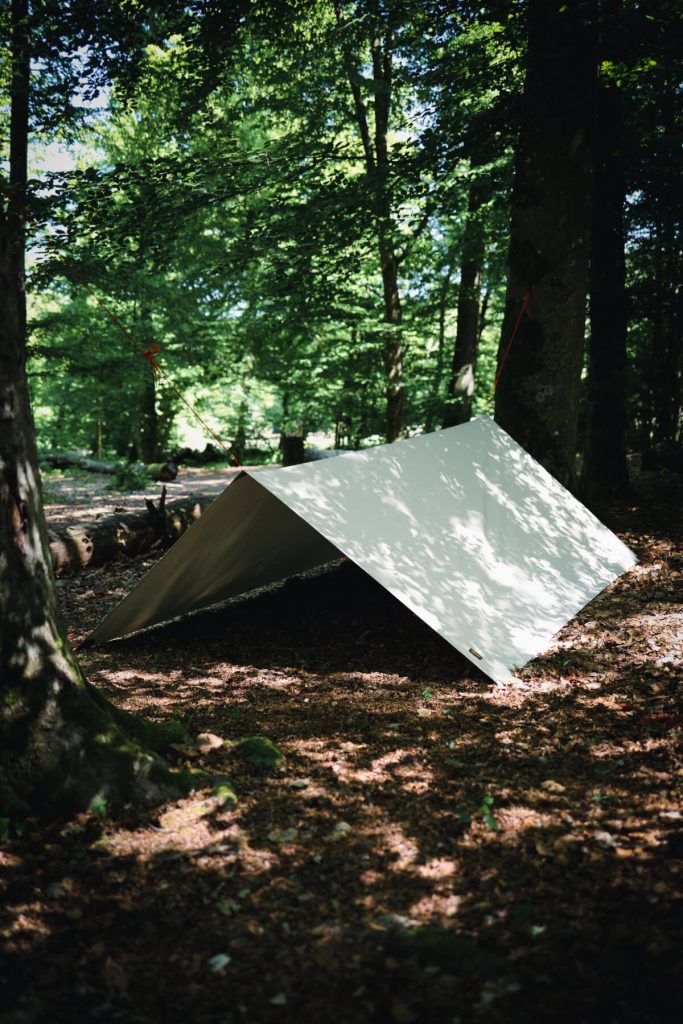
- Lean-to shelter: Here, one side of the tarp is attached to a sturdy structure, while the other side is supported by poles or ropes to form a sloped roof. This variation allows rain or snow to drain more easily and provides a larger covered area.

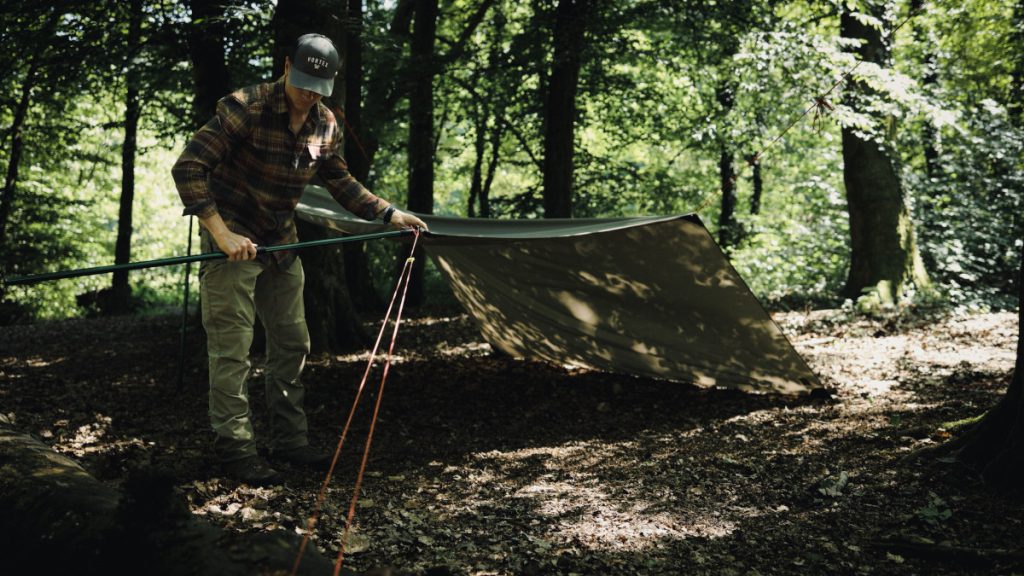
- Tent setup: This variant is similar to the erection of a tent. The tarp is stretched trekking poles and pegs. This variant is good for good weather protection.
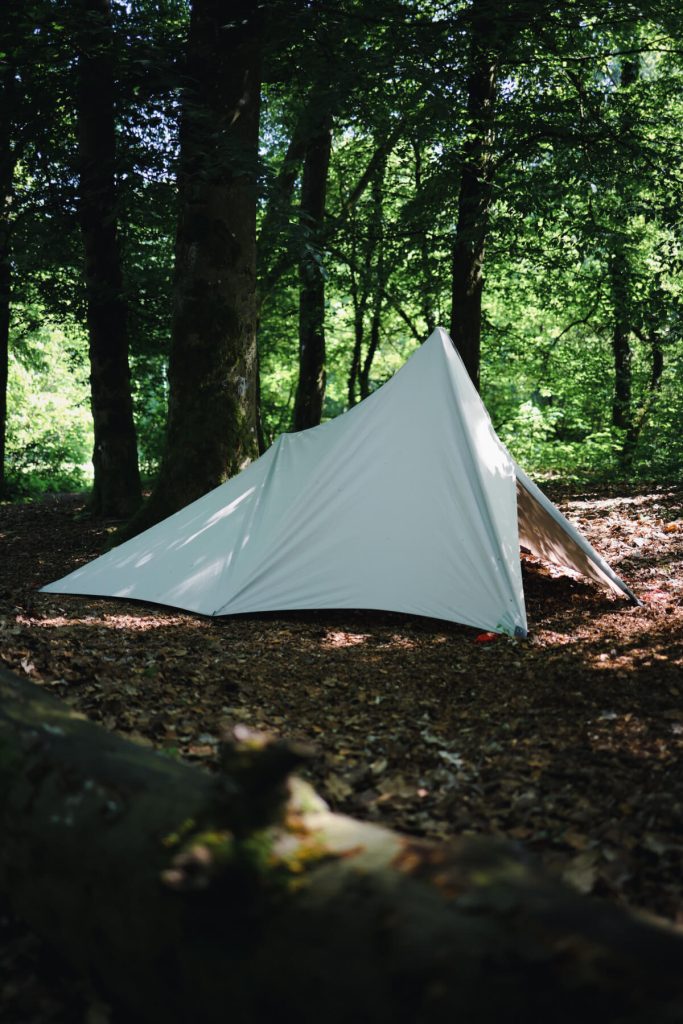
- Pyramid setup: This variant is similar to the construction of a pyramid. It requires a central support and a trekking pole or tree to attach the top of the tarp. The corners of the tarp are then stretched outward to form a protective roof. This setup is lightweight and provides enough space for one person with equipment.
- Hammock setup: This structure protects against rain while providing good ventilation. The tarp is stretched diamond shaped over the hammock to create a protective canopy and get more length out of the tarp.


Each of these tarp variants offers different advantages and application possibilities. The variants should be adapted to your own specific needs and environment. Experimenting with different set-up variations is advisable and absolutely recommended.
Knotting techniques
Learning some basic knotting techniques is important to setting up the tarp safely and stably. One popular knotting technique is the Prusik knot, which is used to tighten or adjust guy ropes.
- Prusik knot: The Prusik knot is commonly used to tighten or adjust guy ropes. It provides a non-slip connection and allows you to adjust the tension of the guy ropes as needed.
- Siberian Knot: The Siberian knot is a simple and effective knot used to secure guy rope to a fixed structure, such as a tree or post. It can be untied quickly and easily.
- Slip knot: A slip knot like the bowline knot can be used to attach guy ropes to guy points or pegs. These knots provide a secure connection and can be easily released.
- Topsail Sheet Knot: Also known as the “Bowline on a Bight,” it is a fixed knot that forms a loop in the middle of a rope. It is good for attaching guy ropes around guy points or for forming a tight loop.
- The mast throw is a knot used to secure a guy rope around a guy point. It provides a secure and quick attachment method.
- Cross Knot: The square knot can be used to tie two guy ropes together or to form a loop on a guy rope. It is quick to tie and holds the connection firmly.
It is important to learn and practice the correct knots to ensure a safe and stable tarp-setup. The knots should be mastered before the outdoor adventure to be able to use them correctly when needed.
Tips and tricks
Here are some useful tips and tricks for getting the most out of an outdoor tarp.
- Use of guy ropes: Adding guy ropes will improve stability, especially in windy and wet conditions.
- Tarp should be re-tensioned especially if rain is frequent or expected, as some materials loosen easily when wet. It is also recommended to re-tension everything before going to sleep to avoid disturbing fluttering in the wind at night.
- Assemble your own guy system with knots and small eyelets/carabiners to adjust and set up and take down the tarp quickly and easily.
- Tarp alignment: When setting up tarps for rain or snow, make sure they are sloped enough to allow water or snow to drain easily. This will prevent water buildup, potential damage or surprises.
- Regular maintenance: Small holes or tears should be repaired as soon as possible to prevent further tearing. Likewise, cleaning a tarp is very important. Leaves or the like will attack the outer material during storage and make it brittle.
- In snow, ice or sand, two pegs per guy line can be dug in for anchoring if it is not possible otherwise.
- The combination of tarp and mosquito tent is a very good upgrade in some regions and especially in summer, which is highly recommended.

Choice of the ground
When choosing the ground for the tarp setup, it is important to consider several factors to ensure a stable and safe construction.
The ground should be as level as possible to avoid unevenness and tension differences on the guy ropes. Make sure that the chosen surface is not prone to water accumulation, as this will lead to uncomfortable wetness and condensation.
Sharp or pointed objects (stones & thorns) should be avoided and instead select an area with a smooth and soft surface. Using high quality and different pegs (soft & hard) pays off for hard ground.
With this information, different setup options, knotting techniques and tips and tricks, nothing should stand in the way of your next trip with your tarp.
Have fun with your tarp.


