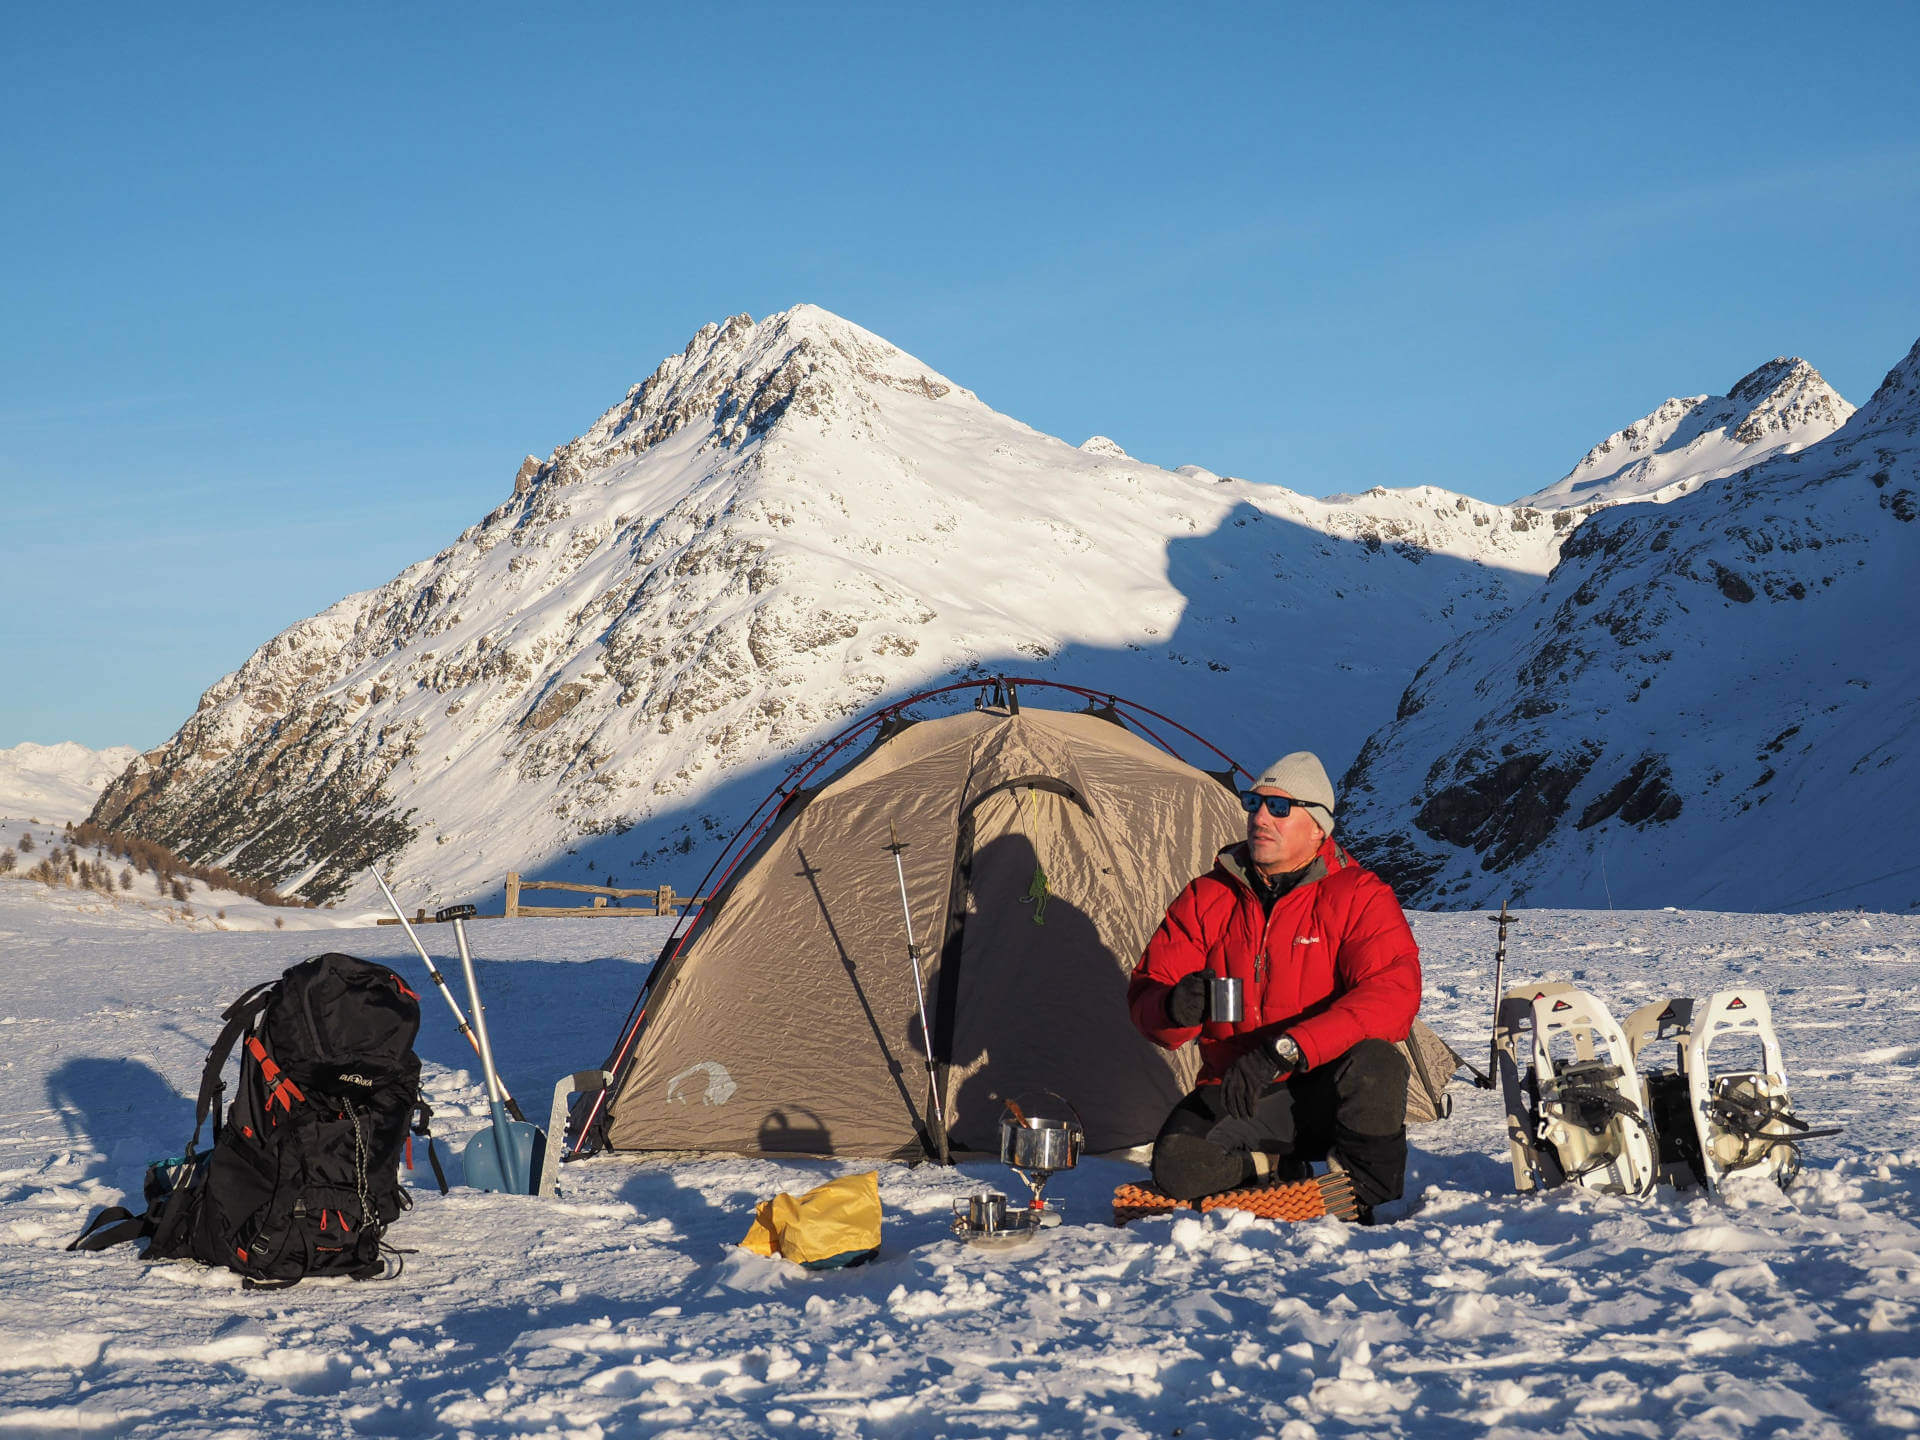
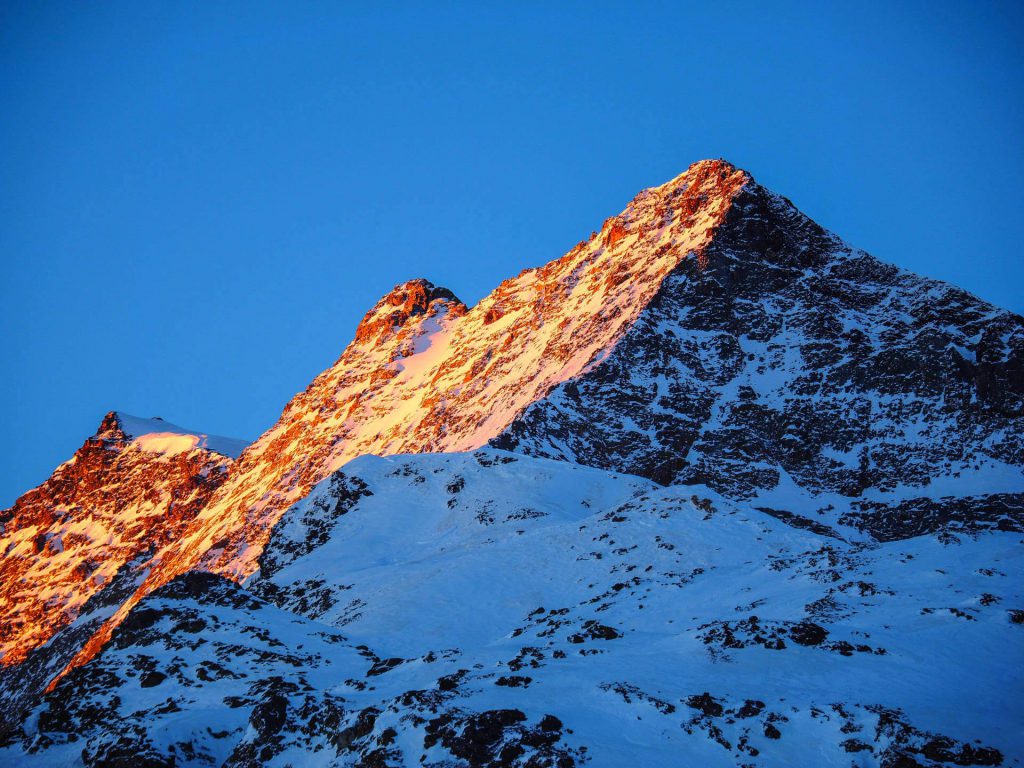
“The stove hums peacefully, the crystal-clear light enchants the snow-covered mountain landscape, the snow crunches with every step, the cold is palpable, but still pleasant … “
Camping in winter is a fantastic experience, perhaps even a challenge. However, this undertaking requires more knowledge and preparation than camping in snow-free periods. The most important part of the anticipation is certainly the preparation. While planning and packing, images start to form in your head. You’re looking forward to leaving everyday life behind you again and experiencing winter up close. The list of equipment needed is of course much longer than in summer.
What you need
- Comfortable backpack with sufficient volume (e.g. the Yukon trekking backpack by Tatonka).
- Tent (tunnel or dome tent), sufficient guy ropes. Special winter pegs are commercially available, which are slightly larger and therefore ideal for the T-technique described below.
- High-quality 4-season sleeping bag (either made of light down or with moisture-resistant synthetic fiber filling). I always use a down sleeping bag as it is lighter in weight and smaller in pack size.
- Insulation mats – the most comfortable is a thin foam mat on the tent floor and a high-quality inflatable insulation mat filled with down or synthetic fiber (e.g. from Exped or Thermarest) on top.
- Stove (gas or petrol) with full cartridge – a gas mix of
20% propane and 80% isobutane to prevent the gas from freezing (e.g. Primus) or a full fuel bottle. - Cooking pot, cutlery, vacuum flask (e.g. Hot & Cold Stuff by Tatonka).
- Food that can be prepared quickly can also be pouch menus (e.g. Lyofood). In the cold season, it is practical and pleasant to have a tasty, warm meal ready quickly and with little effort.
- Chocolate, tea bags, coffee. Fruit is unsuitable as it can freeze.
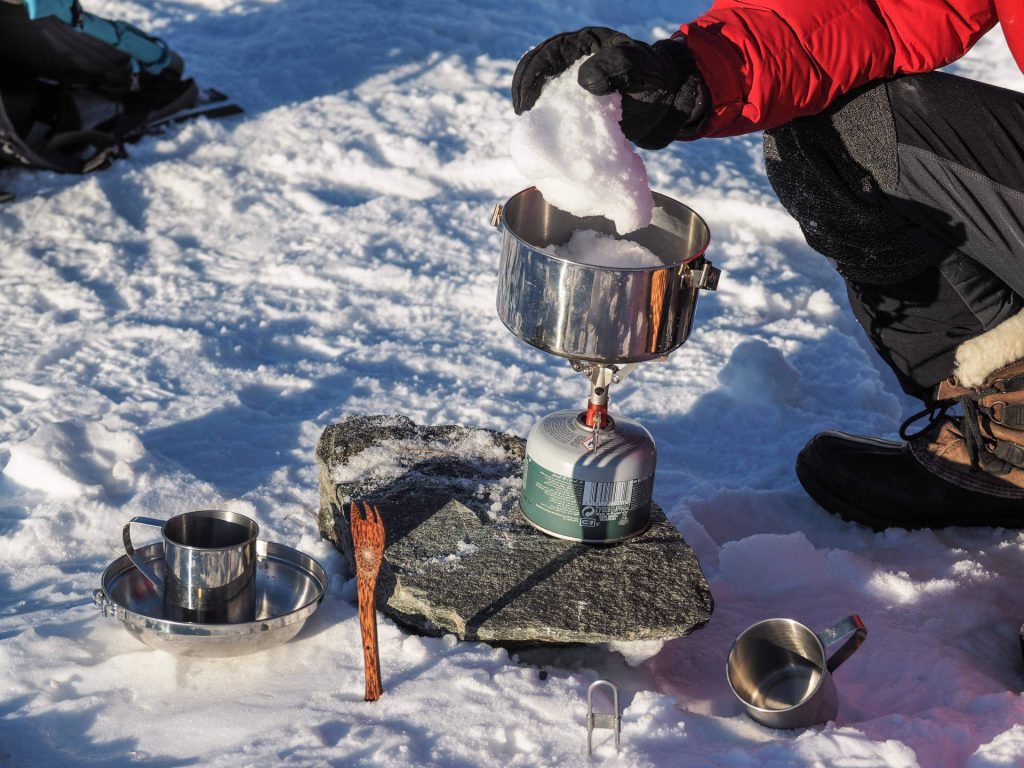
- Small wooden board as an insulating base for the stove – otherwise the gas mixture in the cartridge can freeze in the cold season.
- At least two lighters for safety in case one gets wet. Possibly some tinder for an emergency fire.
- Headlamp with full batteries and spare batteries!
- First aid kit.
- Multi-layered clothing suitable for winter, down jacket, gloves and hat, spare socks, sunglasses, sun cream.
- Everything packed in waterproof pack sacks (Tatonka stuff bags).
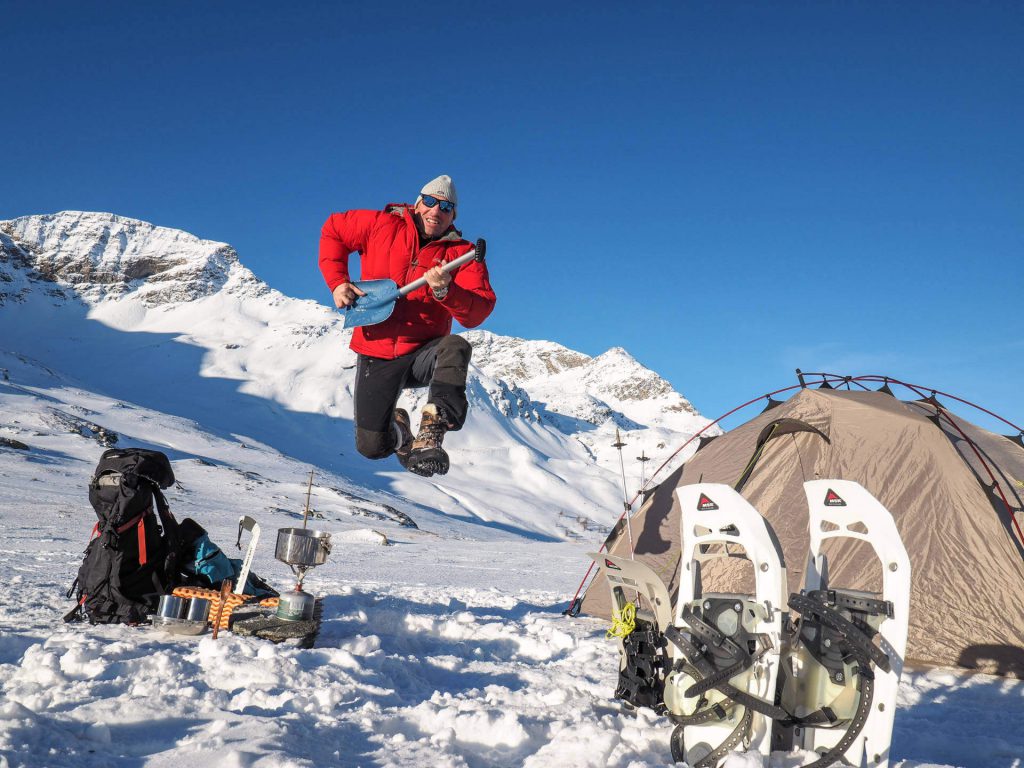
- Skis with skins and touring bindings or snowshoes, poles; avalanche transceiver, probe, avalanche shovel, snow saw (e.g. Exped).
- Smartphone/mobile phone with full battery; power bank to recharge the battery. Batteries lose power very quickly in the cold.
- Camera.
- Map of the area.
What you absolutely must pay attention to
It’s best to double-check that your equipment is complete before starting your tour!
In addition to the weather and wind, the avalanche situation must also be taken into account in winter. Check the situation on the various weather portals daily before, during and on site on the internet (www.slf.ch). It is important to inform friends in advance about your plans and the area, and don’t forget when you plan to return. Save emergency numbers in your smartphone. Make sure you check in good time whether camping is permitted in the area (telephone, internet, map).
Would you also like to sleep outside? What is important when camping?
It’s starting!
But only if there is no acute avalanche danger in the area! The ideal place for winter camping is relatively sheltered from the wind, and not near or even under or on a steep slope, as the risk of an avalanche is particularly high here. The most important thing when camping in the winter is to always make sure you are as comfortable as possible.
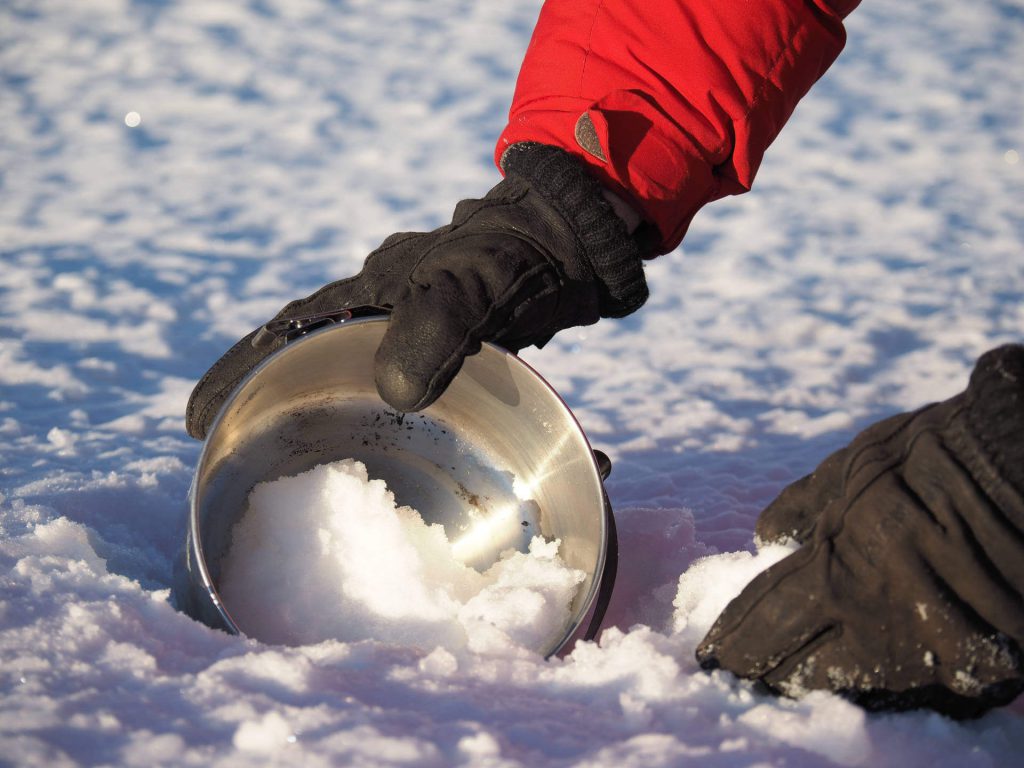
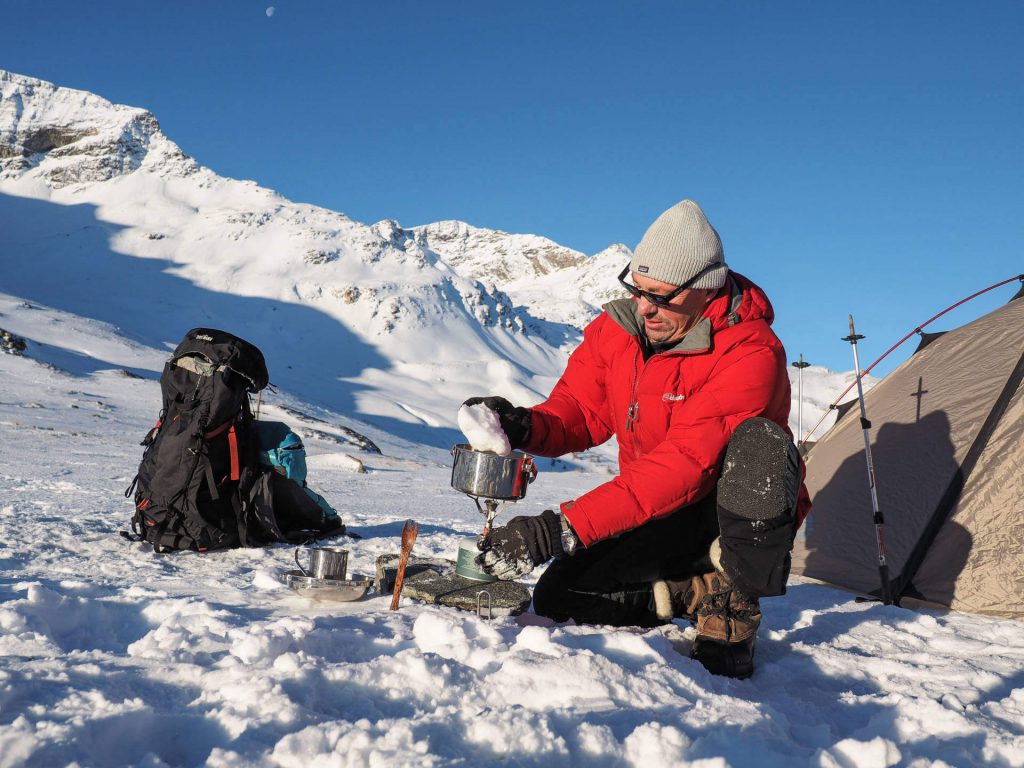
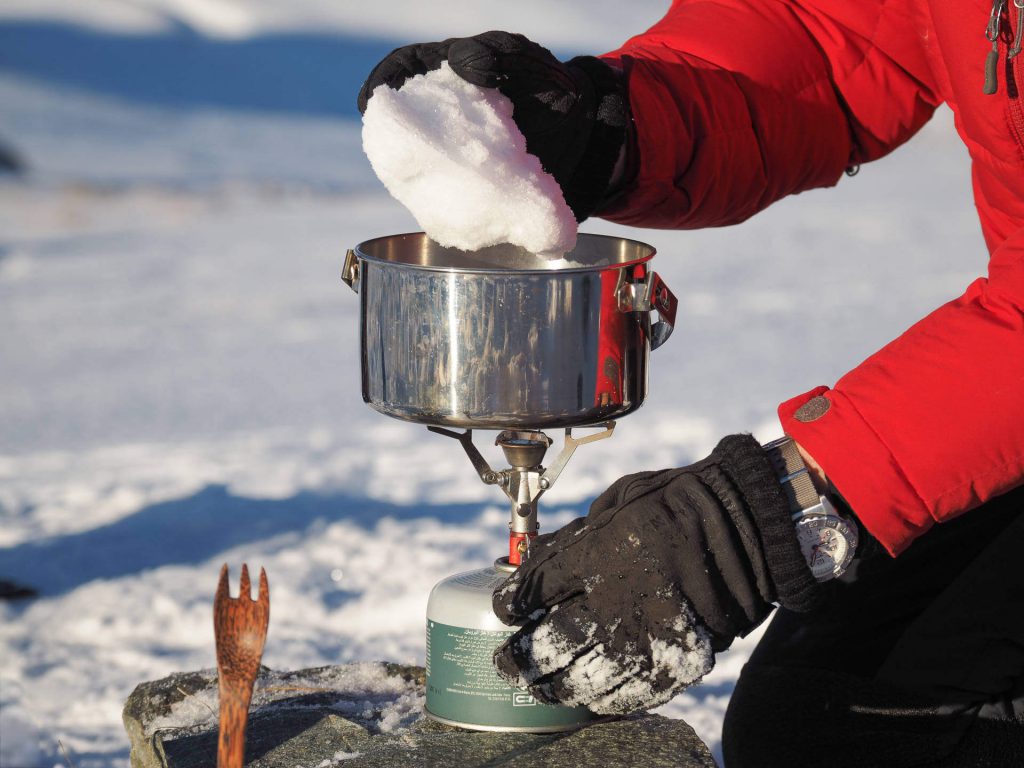
As soon as the place to spend the night has been chosen, it is recommended to drink warm tea regularly. If you’re traveling as a couple, one of you can immediately take care of the kitchen: build a kitchenette and melt snow for tea. First fill the pot halfway with snow and keep topping it up; the water boils a lot faster this way.
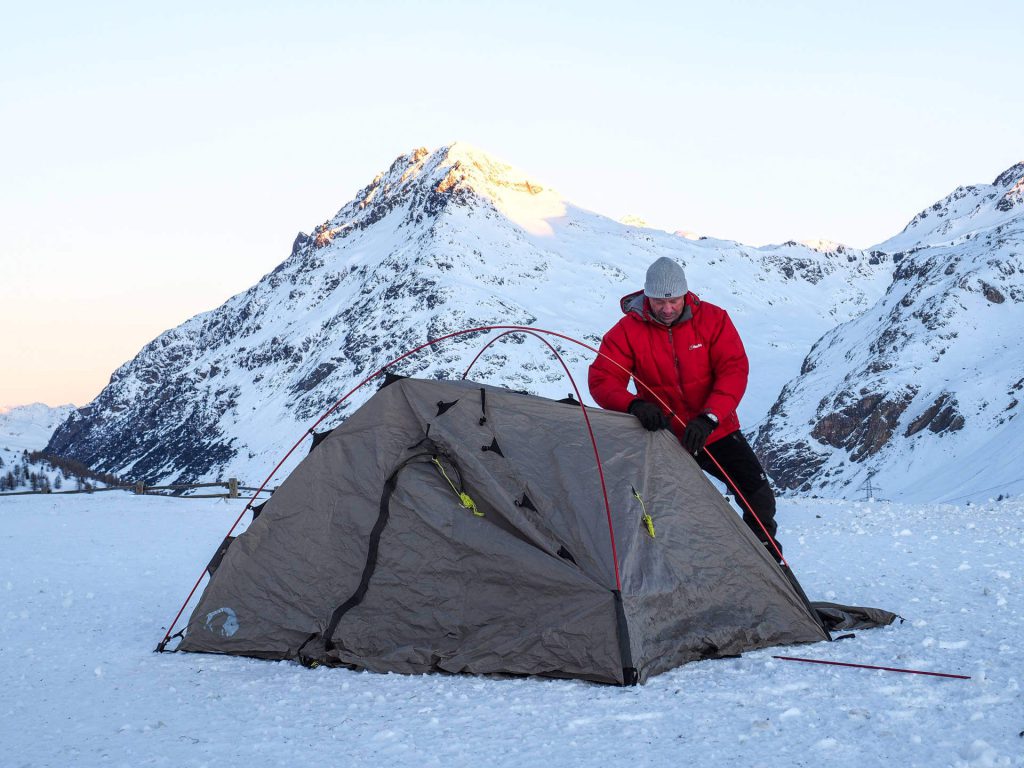
Setting up the tent in the snow
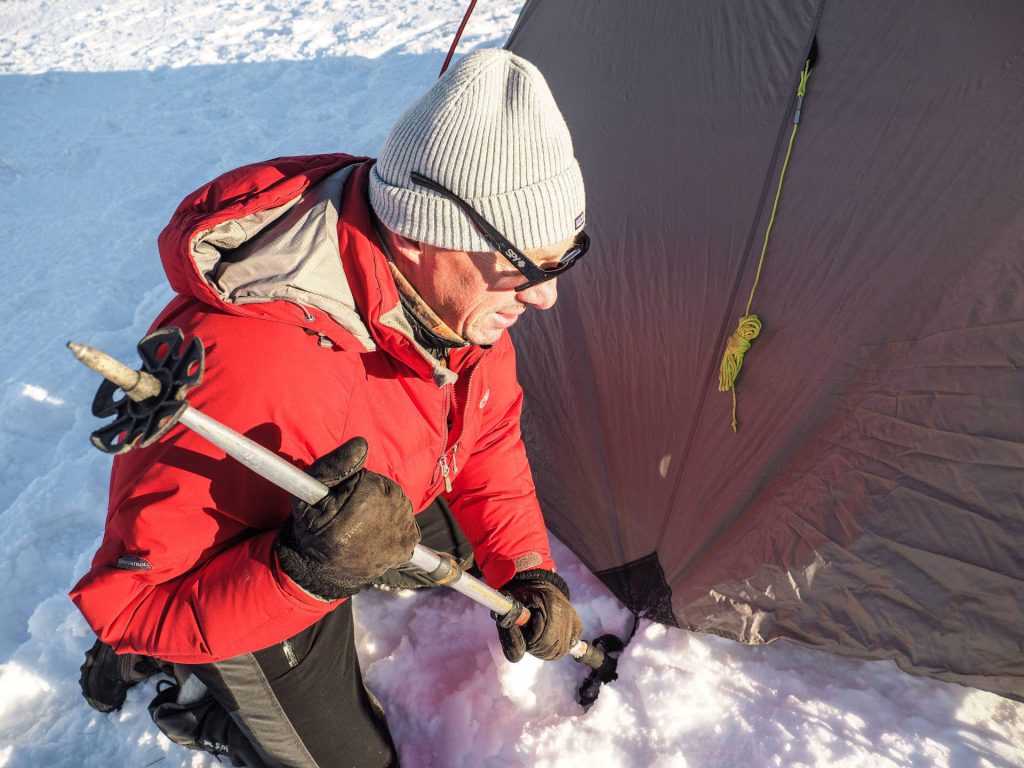
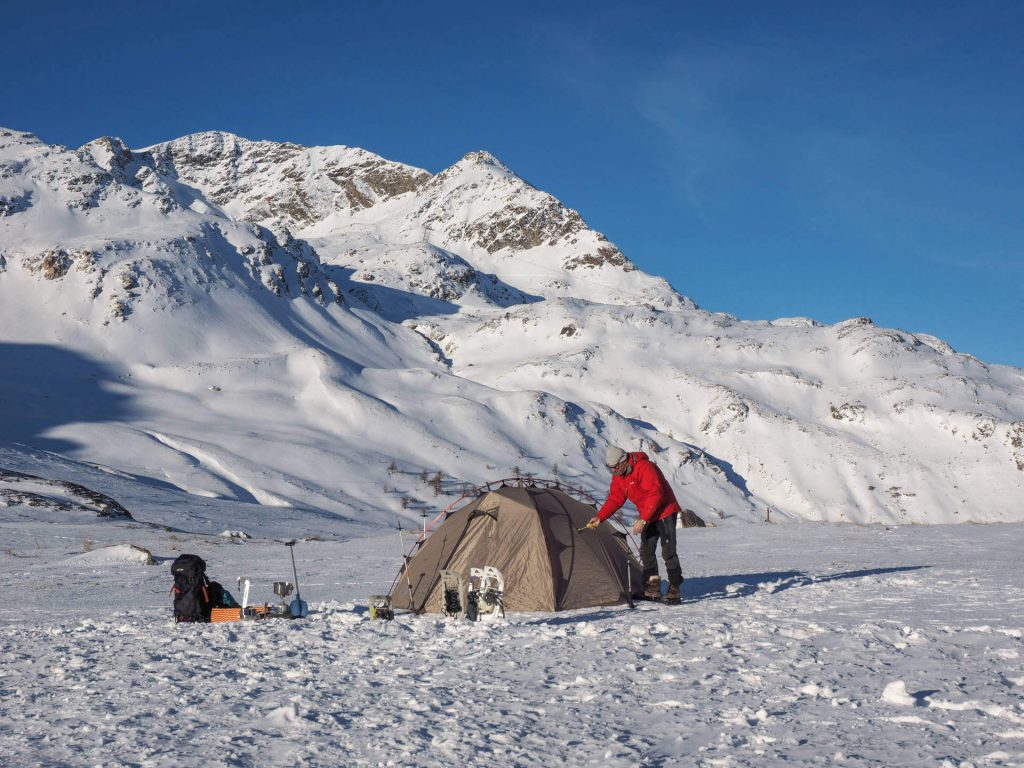
The second begins with the construction of the camp. First, cement the space for the tent with snowshoes or simply on foot, then set up the tent. Bracing is even more important in winter than in summer. The classic way with pegs doesn’t work in soft snow, but there are special techniques for this:
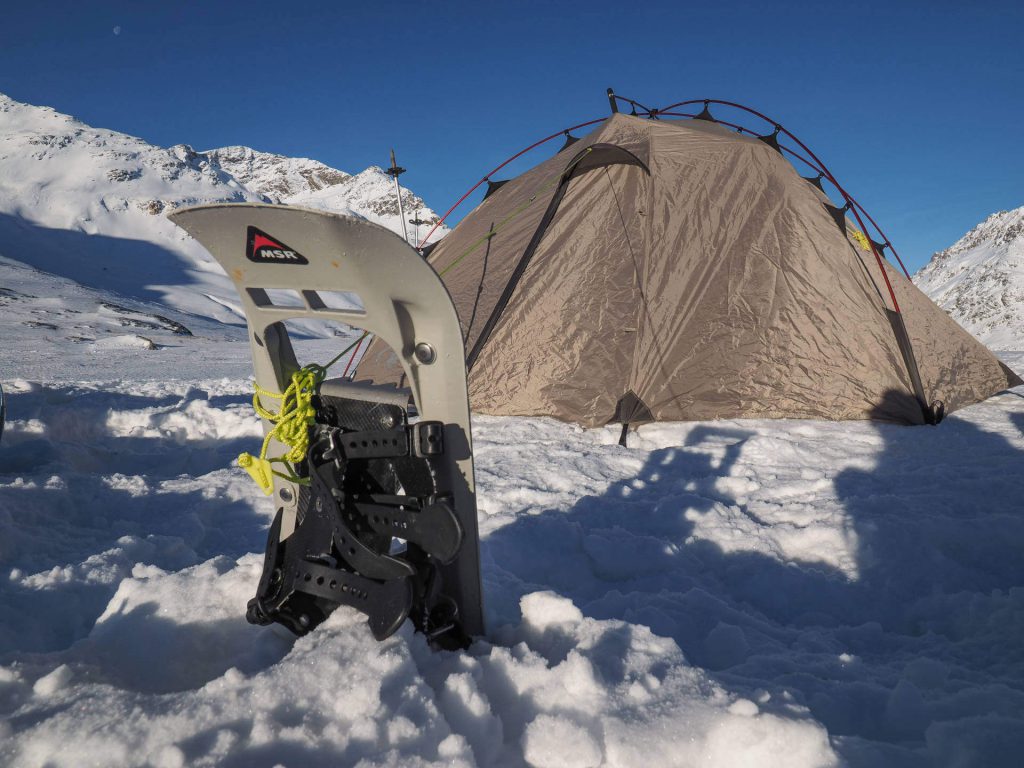
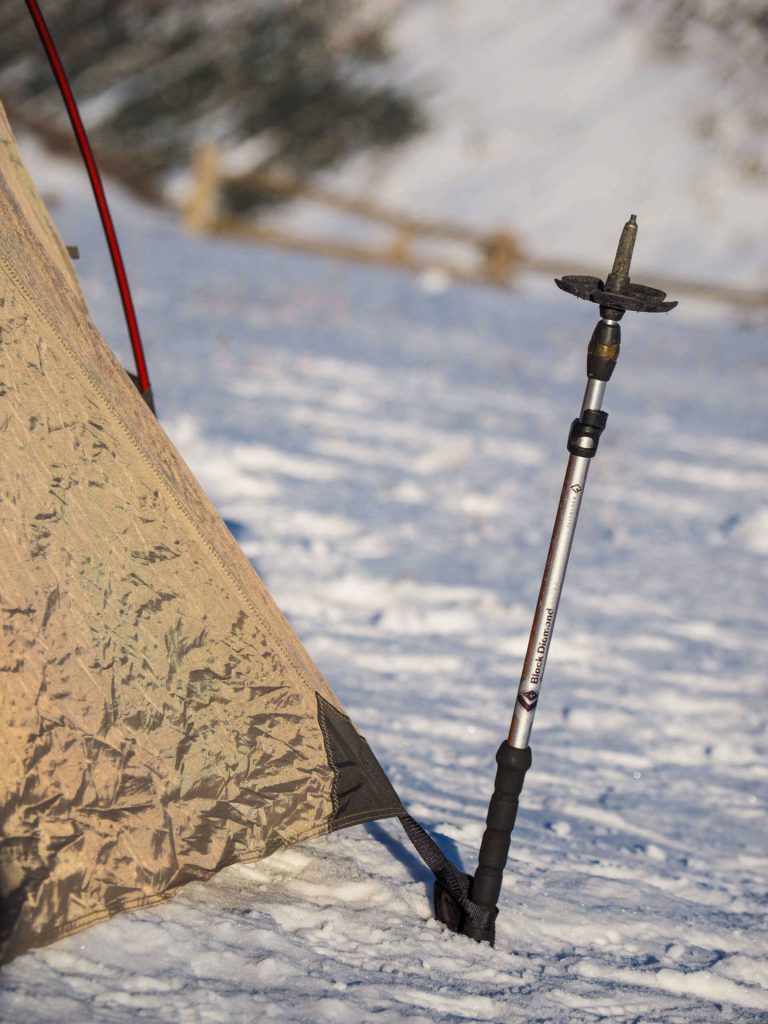
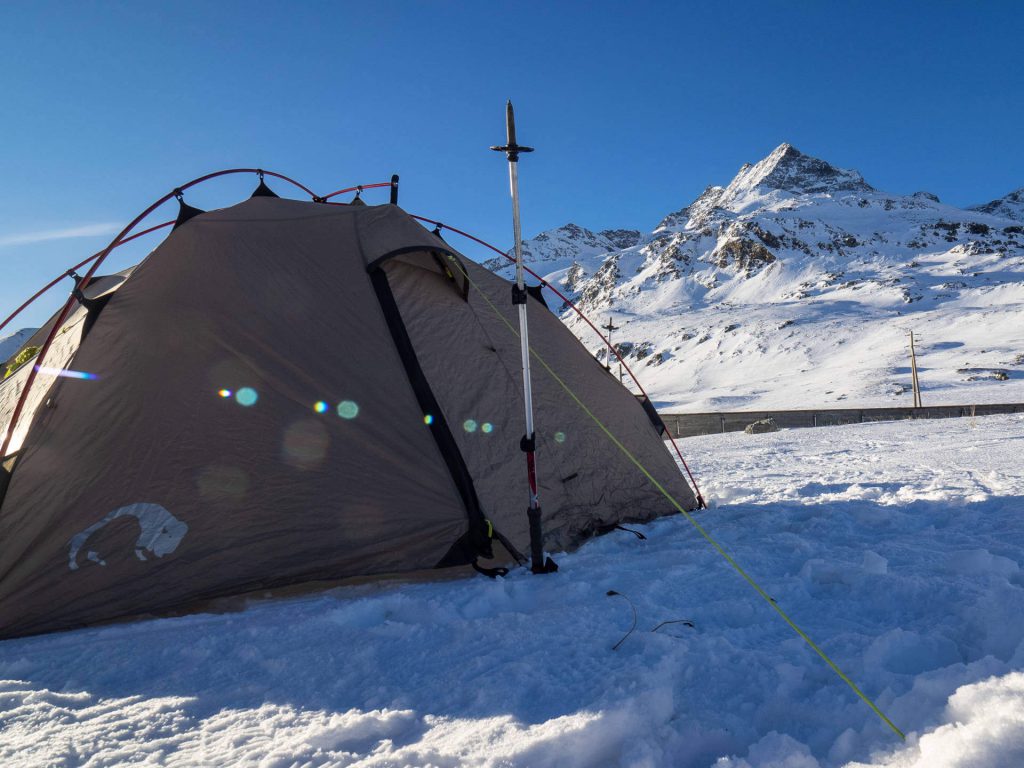
Everything that is available (snowshoes, skis, poles) can be used perfectly for bracing by first lashing the objects with the bracing cord and then – at an oblique angle (!) – burying them in the snow.

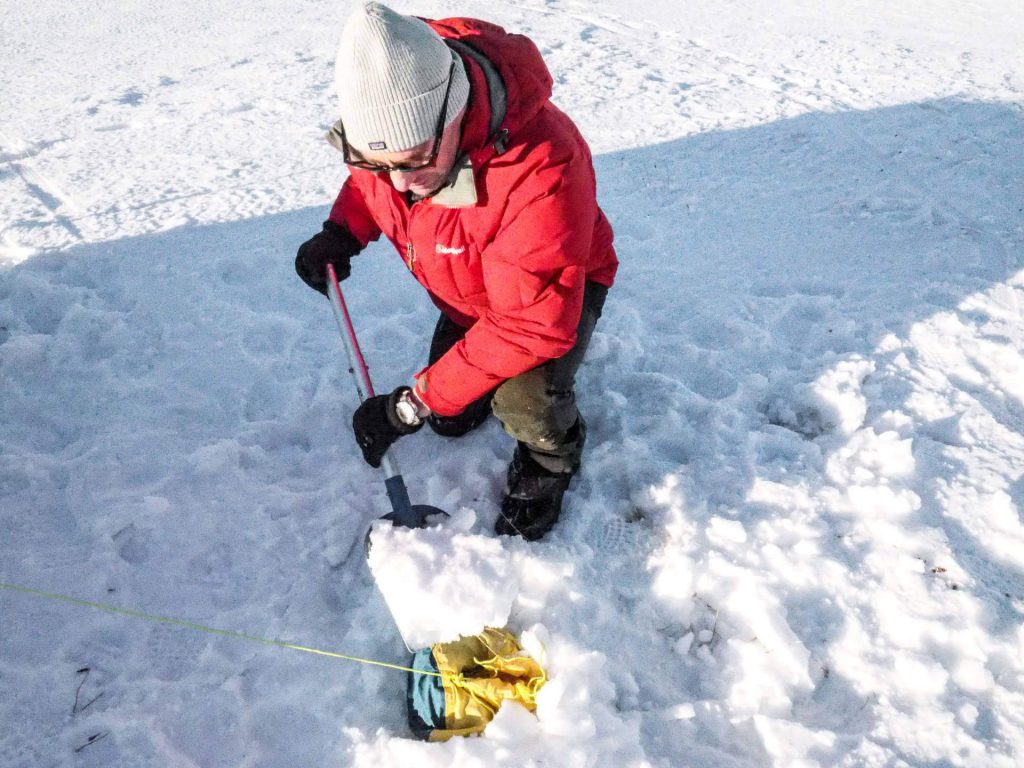
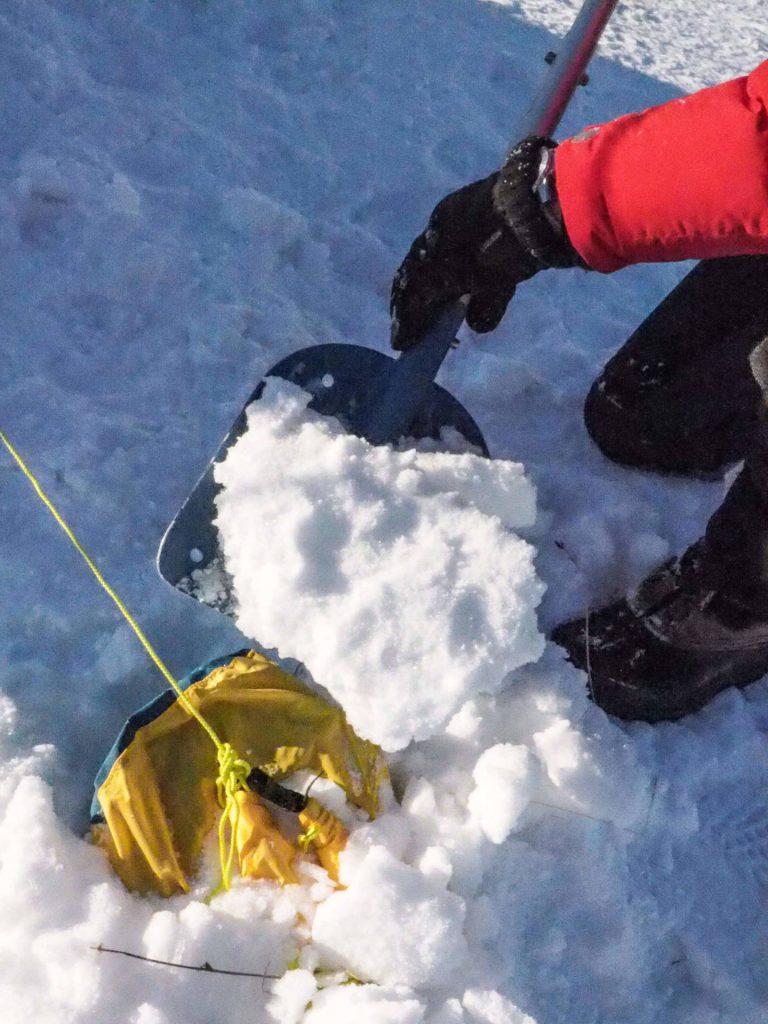
Another option is the T-technique. Fill a pack sack with snow, lash it down with the lashing cord and bury it in the snow.
The same works with pegs: it is important to fix the peg in the middle with the tensioning cord and dig it in towards the tent in the shape of a “T”.
Saw out snow blocks (approx. 60 x 45 x 15 cm) with a saw at the kitchenette and at the tent entrance and erect them as a windbreak. If it is too windy and snowing and you have to cook in the tent, make sure there is enough ventilation, as cooking produces toxic carbon monoxide.
How to spend a warm night
You should move around just before sleeping so that your body develops heat. Put on dry socks. Keep your hat on in the tent, as the body loses the most heat through the head.
You should not put on too many clothes in the sleeping bag so that the sleeping bag can retain body heat. It is very comfortable to pad the inside of the foot area with the thermal jacket. Stuff the jacket into the hood so you have a comfortable pillow.
Shoes are placed under the awning. All your equipment should be bundled together outside so that everything is together in the morning in case it starts to snow. For group tours, it is also worth taking a tarp with you as a heat reflector and shelter.
It goes without saying that you should take all garbage with you when you leave the campsite and leave as few traces as possible.
Have fun on your “Expedition Life”
More pictures about winter camping:
Photos: ©Caroline Micaela Hauger peakart.ch


