Being outdoors is fun but needs preparation and can also carry risks since, in the end, it is an adventure, which makes a tour in nature so special. Here, you will learn which basics to pack and how you best react in an emergency.
The equipment will make or break the tour. When the equipment is wrong or even not there at all, you will likely face exertions you could have avoided with the right utensils.
Choose the right backpack
First, the backpack. You should always choose the backpack according to the tour planned: A light hiking backpack is recommended for a short hike. It’s equipped with a back-venting carrying system. The packing volume of a hiking backpack amounts to 20 or 30 litres. Outer side pockets are handy to easily reach important things during your tour (snacks, water bottle, signal whistle etc.). The rain cover, a fixation for hiking poles, the chest belt and a light fixation loop are useful details you shouldn’t go without.
For a day trip we recommend the backpack Storm or our new Skill 30 with an integrated RECCO®-reflector. Both are equipped with the X Vent Zero Carrying System and provides maximum ventilation of the back.
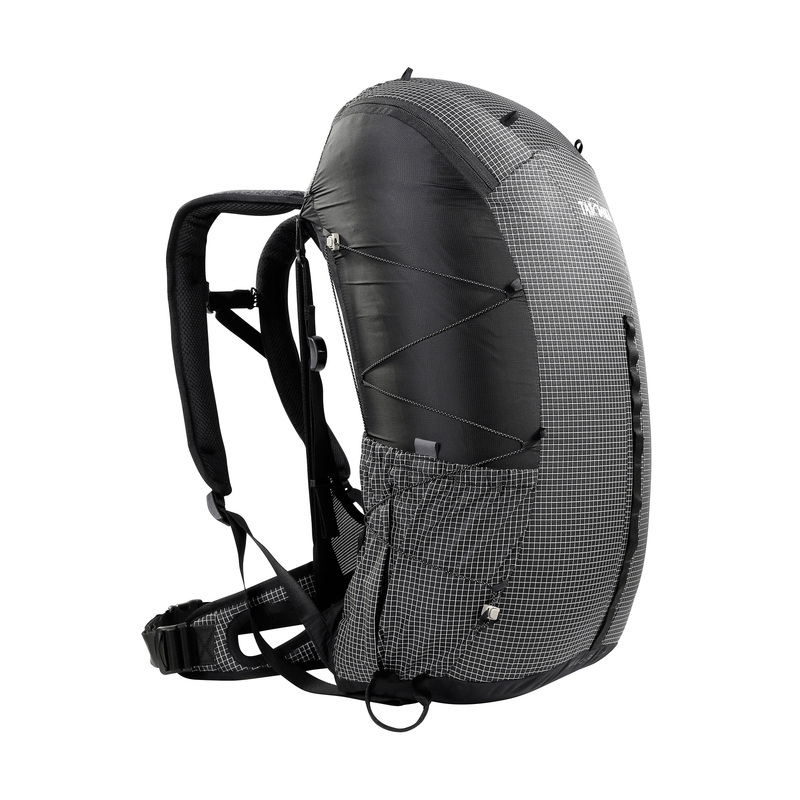
The Skill 30 RECCO® hiking backpack is ultralight, unusually robust and has maximized ventilation – and it features a new safety innovation! The Recco® reflector on the backpack helps professional rescue teams to safely locate you in an emergency and find missing persons from the air.
When your tour lasts several days, the packing volume, of course, increases too. If that’s the case, you’re better off with a bigger trekking backpack with a packing volume of up to 40 or 45 litres. Also, it should have a carrying system to guarantee optimum fit against the back that is designed for medium loads and good ventilation of the back. Tatonka recommends the Pyrox 45+10 and the Pyrox 40 Women.
There is no bad weather, only wrong clothes
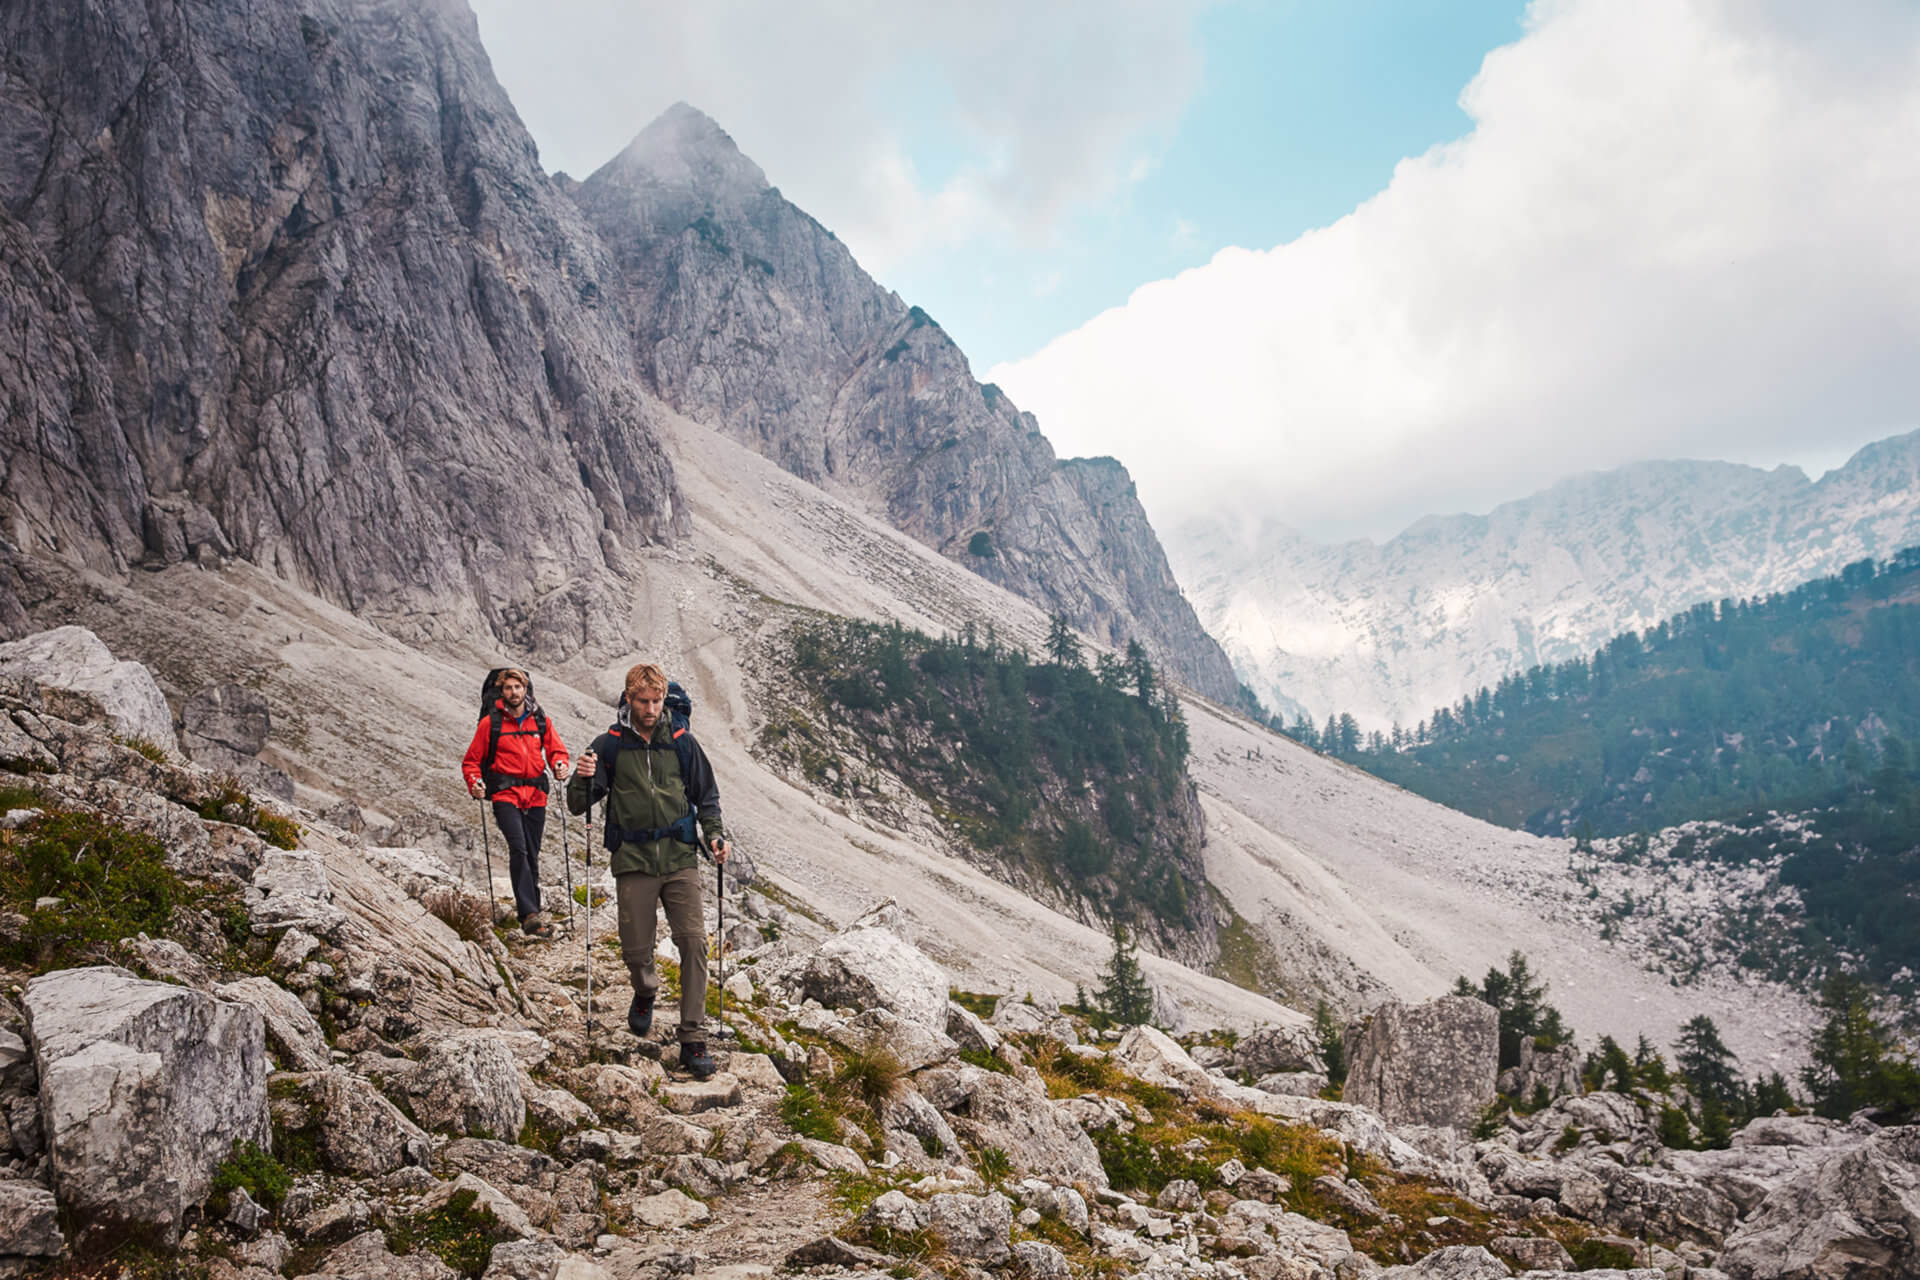
It is essential that your clothes for your tour are comfortable and protect you from wind and weather. With loose-fitting clothes you have enough free movement when on your trip and with breathable materials you won’t sweat unnecessarily. A functional cut and flat seams provide you with a comfortable wear.
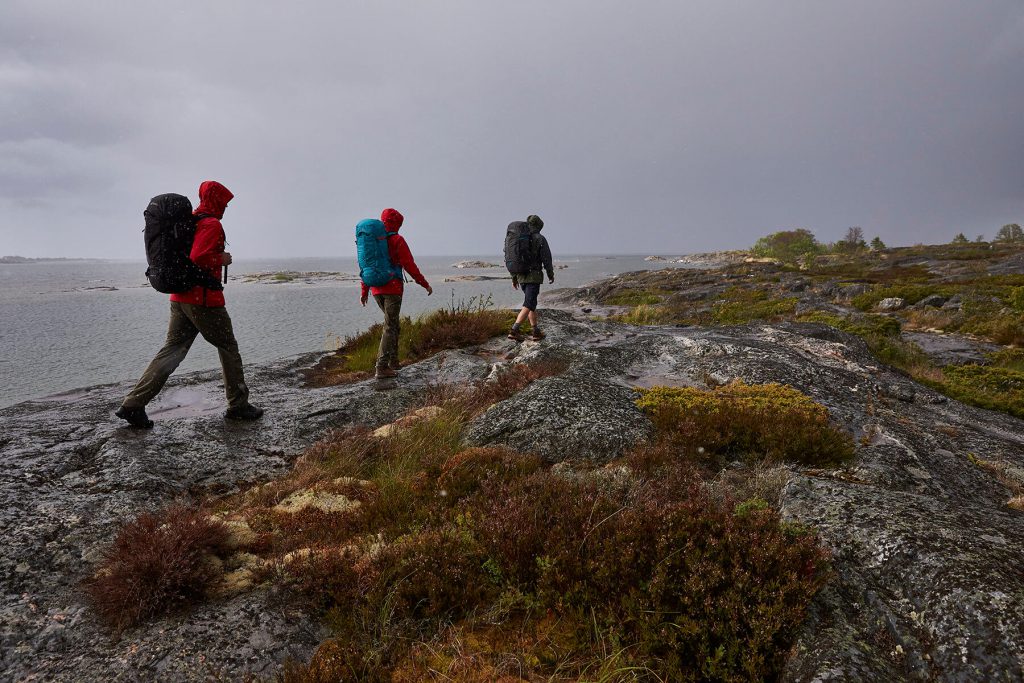
In general, you should of course wear seasonal clothing, but even in summer it can get cold in the mountains or thunderstorms may arise – better make sure to always pack a warm hoodie and rain wear. Functional wear protects you from rain, wind and snow and it is also breathable and resists the daily strain on your tour. Softshell is the perfect all-rounder for this situation: light, warming, wind-proof, water-repellent, breathable and comfortable.
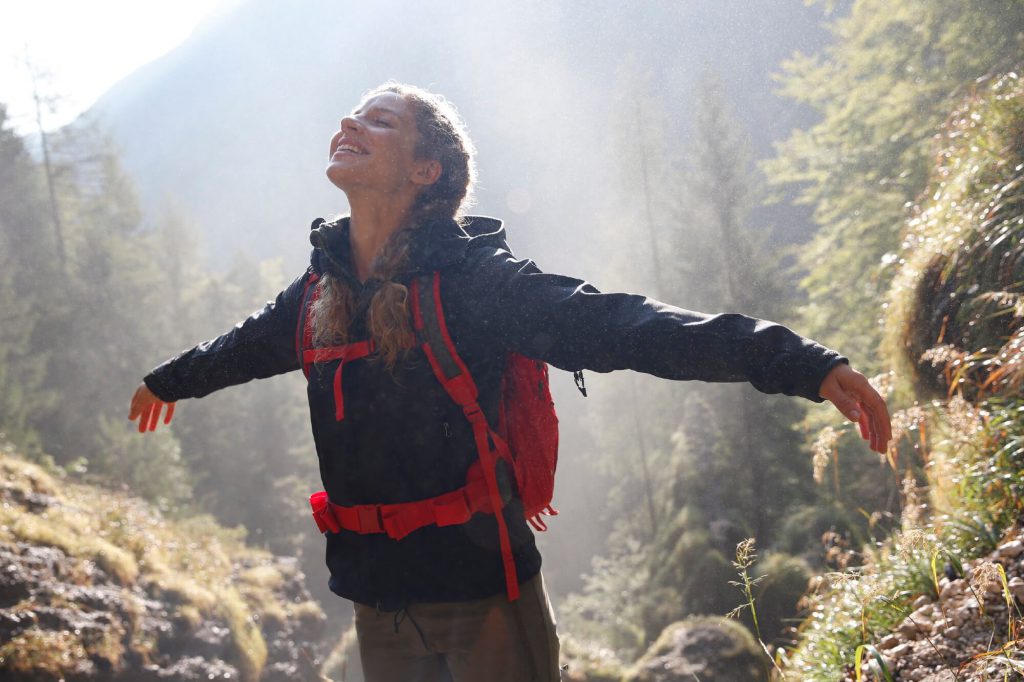
And just to be on the safe side, bring a second pair of socks. Once not careful enough and you tripped in a creek – then you’re stuck with wet socks for the rest of the day.
Keep your feet in mind
It is good to get to know the terrain of your tour a bit in advance, so it will be easier for you to pick the right boots. But it’s always best to go for sturdy ones. Ankle-high hiking boots provide you with great sure-footedness. A well-made sole with a mid-sole softens your steps and stabilises your feet; and this increases the wear comfort.
Don’t underestimate the little helpers!
You usually only notice something is missing exactly the moment you need it – but that’s when it’s too late. Here’s a brief overview of the little helpers you should definitely pack:
- Sun glasses with frame
- Sun hat or baseball cap
- Snacks (even if you plan on stopping off for a bite, pack at least a muesli bar)
- Bottle or drinking system
- Sun lotion
- First-aid kit
- Tissues
- Mobile phone
- Hiking map
- Pocket knife
What to do during thunderstorms
When a thunderstorm brews up, there is one simple basic rule: If you can still slowly count to ten between lightning and thunder, you should quickly look out for a secure shelter because the thunderstorm has almost reached you. Best pay attention not to stand in an open field or a meadow at the start of the thunderstorm as lightning always strikes in the highest elevations. It’s equally bad to stand near trees. If a tree gets struck by lightning, you can get hit by the voltage or falling branches while trying to hide underneath. Especially dangerous are free standing trees as they represent the highest elevation in their area.
Another potential danger are metals. They don’t draw lightning that much but they quickly conduct electricity after striking. Don’t touch bikes, ski or hiking poles, mobiles and handrails as they can cause severe burns at a lightning strike, which heats them up immediately.
But it is less likely that you’ll get struck by lightning than the lightning striking somewhere near you and being discharged in the ground. Therefore, if you are outdoors during a thunderstorm, never lie on the ground but crouch down. Also, keep your legs as closely together as possible. Because if they are apart, this generates a difference of potential, which triggers the current flow in the body. Therefore, you should keep as much distance to others when with a group.
The safest place, obviously, is a building with lightning protectors. If you are not near such a shelter, a car will do as well. The metal body works like a “Faradaic Cage” because it conducts the electricity into the ground and therefore keeps the passengers safe. Experts advise to avoid being in the water during a thunderstorm and to not walk out of the centre of a thunderstorm but to skip. This may sound odd at first but it is easily explained by the great difference of potential, which is generated by opening the legs wide when walking.
First-aid measures when on the road
Painful blisters, grazes and cuts on arms and legs won’t endanger the injured straight away but might not get them a good night’s sleep. Also, it increases the risk of infection, which can either be a simple inflammation but also turn into toxaemia. It is very important to know how to dress these wounds on a tour but also when at home, in the office or in town.
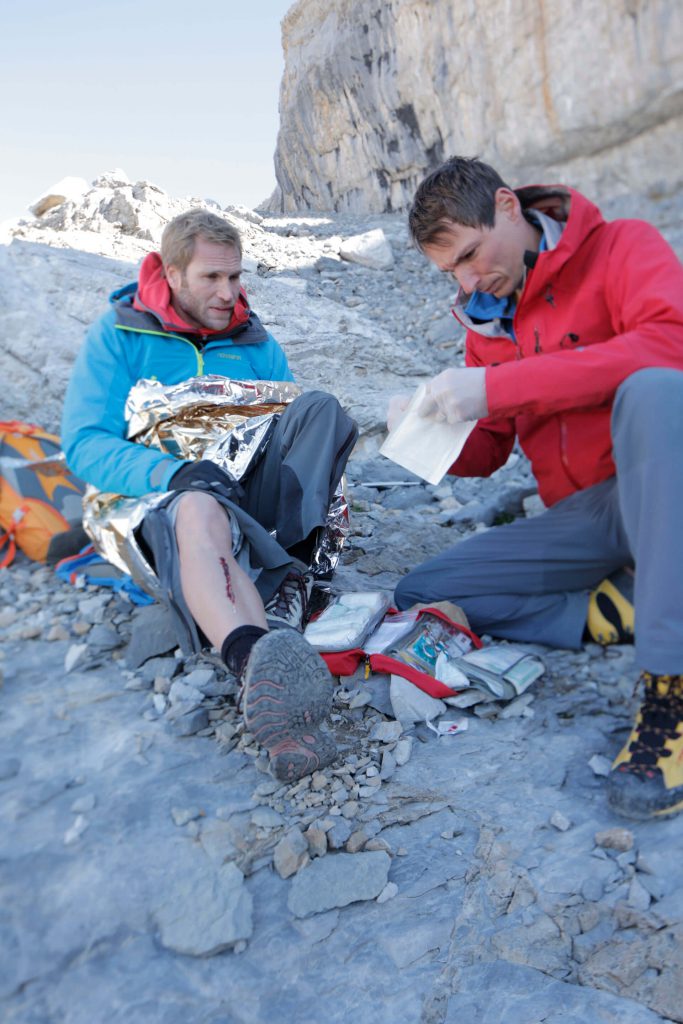
Outdoor basic outdoor knowledge first aid on tour
Of course, the first aider needs to wear disposable gloves – this protects them as well as the injured from infections. If a wound is bleeding, hold the body part up to stop the bleeding. If the wound is contaminated, clean it with plenty of clean, clear water. Little foreign objects such as little stones or thorns can be removed from the wound with tweezers; bigger foreign objects should better not be removed but shortened just above the wound. Then, treat the wound with disinfectant and clean the area surrounding the wound, for example with alcohol pads. Always keep in mind to wipe away from the wound to avoid increasing the risk of infection. Smaller wounds such as cuts or chaps can be covered with band-aids. Bigger wounds should be dressed with bandages where a sterile wound dressing is attached directly to an elastic bandage. The bandage is meant to help stopping the bleeding and avoiding germs to penetrate the wound.
Cooling, bandaging, resting: How to take care of stressed and damaged joints
If joints are sprained or overstretched, they will swell up causing movement pain or maybe even bruises. If possible, set the injured body part at rest. Depending on the intensity of the injury, a break might be enough but sometimes medical evacuation of the injured is necessary. The swelling and the pain can be reduced with the help of cooling applications using water, ice or snow – here, you should pay attention to not damaging the skin. If the skin is intact, sport gels or arnica ointment can be applied to fight the swelling and bruises. But the damaged joint needs to be bandaged tightly.
All tips are quoted from the book “Erste Hilfe und Gesundheit am Berg und auf Reisen” by Dr Walter Treibel, published by Bergverlag Rother in 2011.
This article was published in April 2011 and revised in August 2018.


