Orientation in the terrain with map and compass seems almost old-fashioned today. The GPS device is packed, the outdoor app is running – so why read maps? But what do you do if the battery of your smartphone or GPS device suddenly runs out, the device breaks down or you have no reception? If you’re off the beaten track, you should be able to find your way with a map and compass.
For outdoor enthusiasts, finding your way around the terrain is a skill that is essential. This also includes the use of map and compass. Sure – in times of Google Maps, hiking apps and professional GPS devices, navigation has become easier. But even with a map and compass you can determine your location and thus orientate yourself in the terrain. This can be quite useful, if not vital, on remote tours.
By the way: Using map and compass is not oldschool – quite the opposite. Anyone can use an app or a GPS device for orientation – but not everyone has the ability to use a map and compass correctly.
Tip: Helpful outdoor platforms such as Outdooractive, Alpenvereinaktiv or Komoot offer route planners with which you can easily print out individual maps yourself and take them with you on your tour for orientation.
Orientation with the support of a hiking map
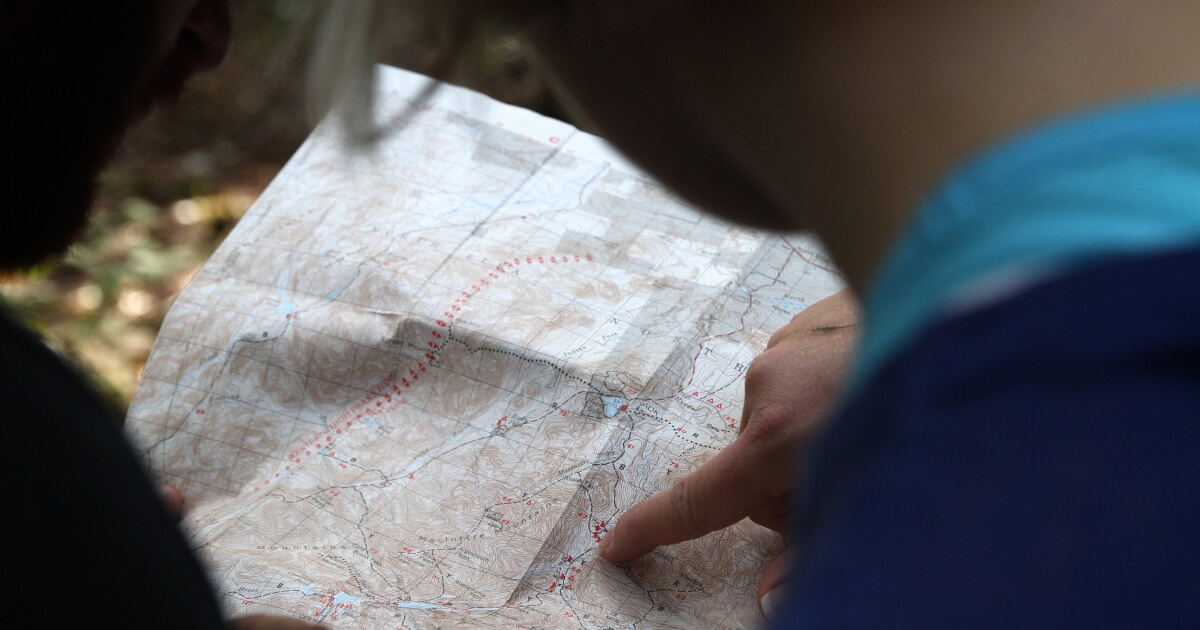
A map is still a reliable help for orientation. There are basically two types. The first is the so-called planimetric map. It shows the area as a flat surface. It does not give information about the landscape itself. Instead you find streets, roads, paths, rivers, railway lines, villages, cities and lakes. Most city maps are of this kind.
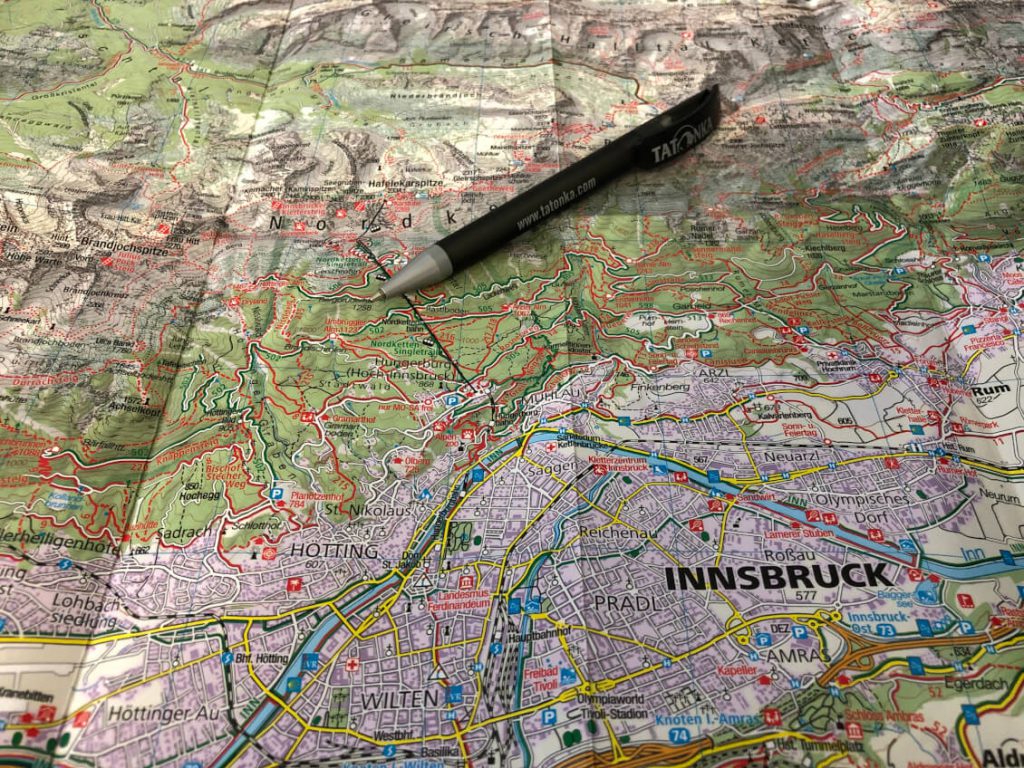
For hiking you should always use the second type of map – a so-called topographic map. It gives you additional information about the nature of the terrain. Hills, mountains, forests, valleys and swamps are marked. You can also easily read off differences in altitude. This is crucial for estimating how long it will actually take you to cover a distance.
We recommend a scale of between 1:25,000 and 1:50,000 in order to be able to read all the information easily. Information about the scale is given by the so-called “fraction”. This is the black and white dotted line in the corner of the map. It shows how many centimeters on the map correspond to which distance in reality.
Also important to know: Meteorology – How to correctly predict the weather when hiking.
Which way is north? The most important question when reading a map
When reading a map, you always have to ask yourself one question first: Which way is north? Without this knowledge, you cannot determine your location and thus cannot find your way. That’s why we explain step by step how to proceed:
On your map, north is always at the top. In order to orientate yourself with your hiking map, you first have to bring the map in line with your surroundings. This means: With your map in your hand, you should stand in the same position so that the upper edge of your map also points in the actual direction north in your surroundings. Then you can compare the map image with your surroundings. To find out which direction is north, use a compass.
Determining the compass direction
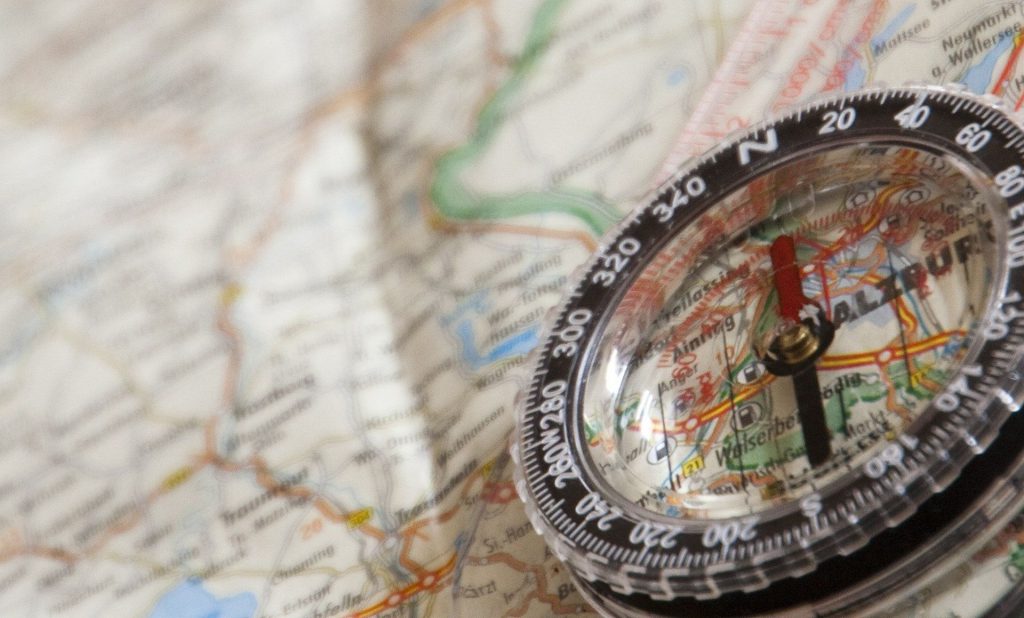
The easiest way to find out where north is is probably to orient the map to north with a compass. A baseplate compass is best suited for this. You place the north mark (red) of the compass rose on the north mark of the housing. Then place the compass on your hiking map. Align the compass so that its straight side edge lies on a north-south grid line or the transverse edge lies under a place name (place names are almost always in west-east direction). Alternatively, you can also place the compass on the outer edge of your map.
Now rotate the map with the compass on it until the compass needle points to “North”. The map and compass now point exactly north.
You can also point the map north without a compass using landmarks. For example, if you are on a road along a distinctive mountain range, turn the map until the mountain range is in the same direction on the map as it is in reality. The more landmarks you find and align with the map, the more accurate your orientation will be.
Finding your location with map and compass
To find your location using a map and compass, there is the technique of “cross bearing”.Tutorial videos on YouTube show you exactly how cross bearing works. Just click through.
Open eyes help with orientation in the terrain
You have already heard how important landmarks are as orientation points. So always walk through nature with your eyes open. The best thing is to keep looking around during your hike and memorize prominent points in the landscape. For example, are there any free-standing trees, a river with a striking bend, a church tower in the next village, a cross by the wayside or a prominent mountain peak in the distance? All this can help you to find your way around the terrain.
Also keep looking over your shoulder and see where you came from. From the opposite direction the terrain often looks different. You will find the way back much easier this way. We usually get lost when we can no longer trace where we came from.
You’re lost? What to do now?
You’re really lost and can’t find a signpost or landmark to help you find your way? First of all: Don’t panic! Keep calm and try to orient yourself with our tips. Depending on where you are, you must now weigh up exactly which behaviour is the right one. Especially in the mountains, especially in the Alps: Don’t just wander aimlessly on! In case of an emergency, it may be the right decision to stay on the spot. You will now find out exactly why.
Even before your daily stage, you should leave as much information as possible about your planned tour and its duration with your last accommodation, family members or friends. If you are now missing, the mountain rescue services will be able to estimate where to look for you. However, if you move further and further away from your original route, the search will become more difficult. The rescuers will not search there in the first place. In addition, you should try to draw attention to yourself. This works best with the alpine distress signal.
Also interesting: Safety on the Mountain – Getting emergency help in the mountains.
The alpine distress signal
To call for help in the mountains when you don’t have a smartphone at hand, the best way is to use the alpine distress signal: give the signal six times a minute (count from 21 to 30 between each character), then pause for a minute, then repeat the signal until you get an answer.
The alpine distress signal can be given both acoustically (with a whistle) and visually. You can use a marker pen and a headlamp or flashlight. Some lamps already have a built-in function for optical emergency signals. By the way, the person who answers sends three signals per minute.
Permanent signals are also important: If weather and vegetation permit it you can light a campfire at night (attention: danger of forest fire!). During the day, for example, you can also hang your bivouac sack in a clearly visible place so that rescue workers can see it from a distance. The most striking color contrasts are those that are most visible in nature.
Also interesting: Bivouacking: Sleeping under the stars – Tips from outdoor-professional Michael Bösiger on how to bivouack.
Conclusion: How to orientate yourself correctly in the terrain
With these tips you should be able to find your way when hiking and trekking with the help of map and compass. The same applies here as always: preparation is everything. The best thing is to take a close look at the map before your hike and memorize the landscape and your route. If you still feel unsure about your orientation in the terrain, then simply choose a tour that is not so remote and a little more frequented. Other hikers or hut keepers are always happy to help you if you ask them for directions.


