Blisters on the foot can make hiking a real pain. We explain what you can do if you have a blister, so that you can continue your tour as carefree as possible. Of course, the best thing is not to get a blister in the first place. On very long, multi-day routes, this can hardly be prevented – but there are a few helpful tricks to prevent blisters.
Blisters on the foot: what helps if it has already happened
Taping blisters: Blister plasters are best
If you’ve run into a blister, the main thing is to protect the affected area – from further stress and friction, but also from contamination. A blister plaster from the pharmacy or drugstore helps best here. The plaster’s integrated gel cushion provides padding and takes the painful pressure off the injured skin. It also promotes wound healing. To prevent the patch from sticking to your hiking socks or coming off prematurely, you can also fix it with tape. Blister plasters do not need to be removed until they come off by themselves.
How to puncture blisters?
Puncturing blisters is generally not a good idea. The fluid in the blister supports healing and the intact upper skin layer protects against germs. If you puncture the blister, it can lead to inflammation – leading inevitably to the end of your hiking tour. However, blisters can burst if you decide to continue hiking despite the pain. Now it comes down to proper hygiene to avoid inflammation. It is best to disinfect the affected area and make sure that there are no foreign objects such as lint from your socks in the wound. Then treat the blister like an injury, disinfect it and apply a suitable bandage.
Treat blisters with tea tree oil or aloe vera
A proven home remedy for blisters on the foot is tea tree oil. For the treatment, mix one part tea tree oil with three parts water and apply the liquid with a cotton pad. You can hold the pad on the affected area for ten minutes, so that the oil can develop its antibacterial and anti-inflammatory effect. You can also apply aloe vera to blisters. This cools and accelerates healing.
Also interesting: First Aid in the Mountains – Basic knowledge
Foot bath with Epsom salt to treat blisters
When trekking with a tent less feasible, but still helpful can be a foot bath with Epsom salt. To do this, add two tablespoons of the salt to lukewarm water and soak your feet for fifteen minutes. The salt dries out the blister and thus speeds up the healing process. Epsom salt also contains a lot of magnesium. This has a pain-relieving effect and makes inflammation subside more quickly. You can repeat the treatment on several days in a row. The treatment is not recommended if a blister has already burst: the salt burns the injured skin.
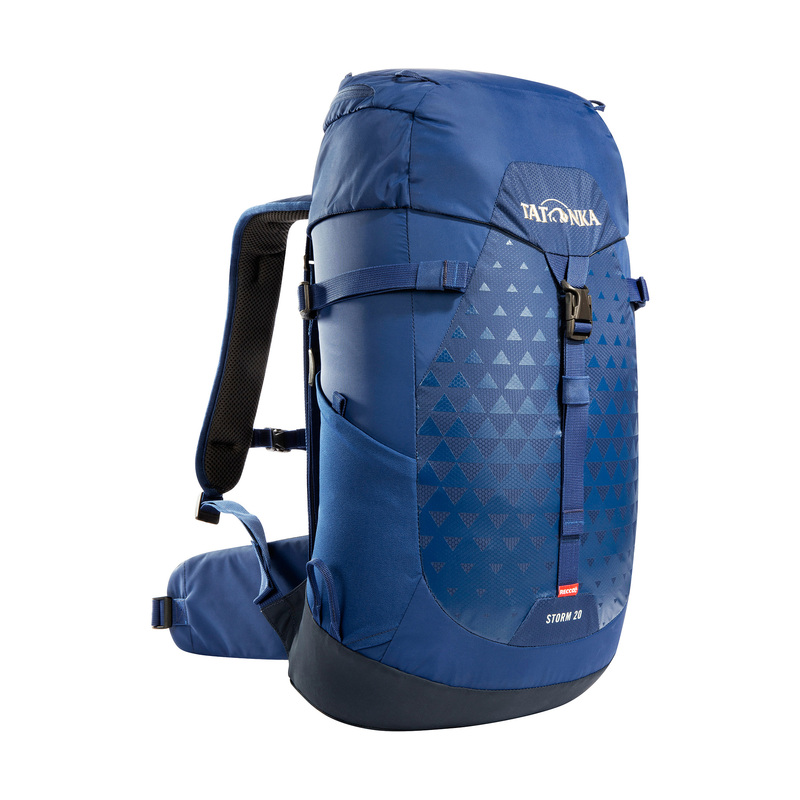
At Tatonka you get touring and hiking backpacks that fit your needs exactly. In different colors and with different features. For day trips or multi-day hikes, with mesh back.
Avoid blisters: Means of prevention
The right hiking boots
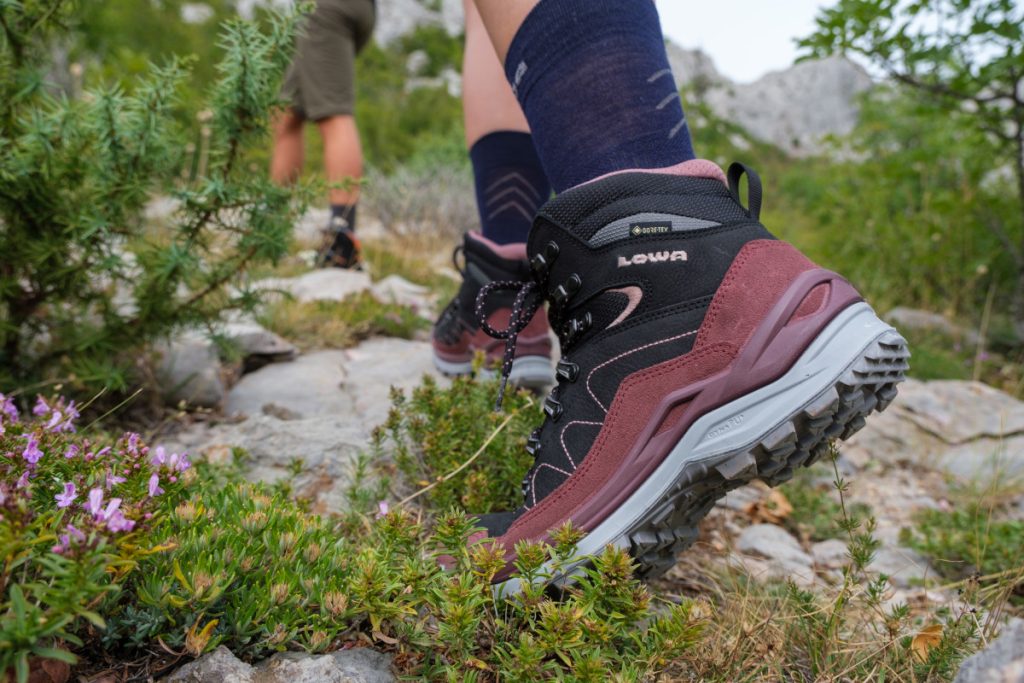
It should be obvious that your hiking shoes need to fit perfectly. However, it is just as important to wear the right kind of shoes. Hiking boots that are too heavy or too stiff can more easily lead to blisters. This is because your feet naturally swell during the day. (That’s why you should always buy hiking boots at least one size larger than your regular shoes). If your shoes are too warm, your feet will swell even more. This creates a warm and humid climate inside the shoe. This makes the skin more sensitive and more susceptible to blisters. So always adapt your footwear to the requirements of your route and don’t wear boots that are too heavy. In addition, you should always lace up hiking boots during the hike – the first time is best after 20 minutes.
Always break in shoes extensively
Even the best hiking boots need to be broken in. If you start a multi-day hiking tour with brand new shoes, blisters are almost inevitable. The shoe needs a while to adapt to your foot and vice versa, your feet need to get used to the new shoes. You can start by wearing your new hiking shoes indoors for an hour and then take them for a walk a few times until you cover longer and longer distances with them. Before a tour lasting several days, you should also break in the shoes on an easier mountain tour. This is because on the mountain, the friction on the foot occurs in different places than on flat land.
The right hiking socks
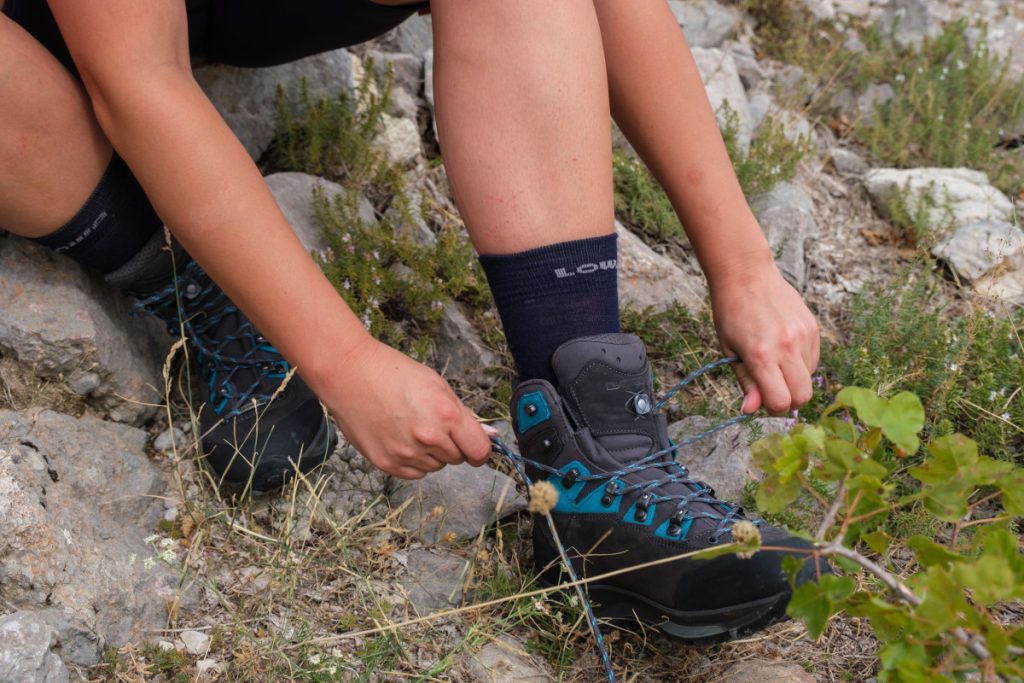
Your hiking socks should be like a second skin – in other words, they should fit snugly. If they are too wide, they can slip and wrinkle. Then blisters are inevitable. The material is also important. As soon as moisture forms in the shoe, your socks and shoes rub more intensely and your skin becomes more sensitive, again a cause of blisters and sore spots. Especially with waterproof shoes, it is important that your socks can absorb a lot of moisture without feeling wet. Merino wool has proven to be the best for this.
In addition, there are also special hiking socks with two layers. Here the upper layer rubs, if necessary, only on the second layer of socks and not directly on the skin – an effective remedy against blisters. The secret tip of wearing thin nylon stockings under your hiking socks works in a similar way – it doesn’t work for everyone, but it’s definitely worth a try for blister sufferers.
Reading tip: Are cows dangerous for hikers? – Cows and hikers on the alp: how to behave properly
Remove wrinkles, sand or stones immediately
As just mentioned, wrinkles in your socks while hiking are an absolute killer for your feet. The same goes for small stones or sand. Especially low hiking or trekking shoes tend to quickly pick up something from the ground. If you notice foreign bodies in your shoe, you should remove them as soon as possible to protect yourself from blisters. Light gaiters can help to ensure that nothing ends up in your shoes that doesn’t belong there.
Tape off problem areas and prevent blisters
If you always get a blister on the same part of your foot, you can simply tape it off ahead of time. Then shoes and socks no longer rub directly on the skin, but on the tape. This should protect you from blisters. However, you should use a really good adhesive tape. Otherwise it will wrinkle or come off completely. Leukotape classic is a good choice here, for example. As an alternative to tape, you can also use a blister plaster with a cushioning gel pad as a preventive measure. However, experience shows that blister plasters often come off due to friction.
Tallow cream against blisters on the foot
To prevent blisters while hiking, you can smear your feet with tallow cream (Hirschtalg, literally translated as deer tallow). It is best to start applying the cream in the morning and evening a few days before your hike. Only then will the skin become really supple and yield – a proven method to prevent blisters. On the days you hike, you should also apply Hirschtalg cream first thing in the morning before you put on your hiking socks and then again in the evening. But be careful: If you apply tallow cream to your feet or a blister stick to the affected areas, the tape will usually not hold. It is then hardly possible to apply a tape during a tour, if a blister develops despite tallow or stick. It is therefore better if you decide in advance for a variant – tallow / pen or tape.
Avoid wet feet
If your feet feel wet – no matter if from sweat or wetness from outside – you should change that as soon as possible. Wet skin is softer and therefore more susceptible to blisters. Of course, sometimes wet feet can’t be completely avoided – for example, if you get caught in a heavy downpour. However, always take at least one pair of dry spare socks to change into on your tour.
Some hikers also recommend taking off your shoes briefly during breaks and letting your feet, socks and shoes air out. However, the fact that the feet can swell even more as soon as they get space speaks against this. When you continue to walk, it can be more difficult to get into your shoes, which can lead to blisters. This is different for everyone. It’s best to try out for yourself whether you can take off your hiking boots during a tour or whether you should wait until you reach your destination.
Blister sticks
To prevent blisters, you can also use a special blister stick, such as the one from Compeed. You simply run the stick over the endangered areas. A film forms there to protect the skin. Caution: The anti-blister stick is intended exclusively for prevention. You should not apply it to blisters or already injured areas.
Conclusion
With these tricks for acute treatment and prevention of blisters, hopefully nothing will stand in the way of your next hike. However, before you go on a tour, you should definitely try out which variant is most suitable for you.
If you are looking for inspiration for exciting hiking tours and are interested in other unexpected tips about hiking, take a look at our hiking guide.


