After a full day of outdoor experiences at one with nature, what could be better than going to sleep in a tent? Your mobile hotel is erected with only a few hand movements. What to look for when choosing a tent, where it can best be erected and the simplest ways to put up and take down your accommodation for the night can be found here.
Before any tour there are always thorough preparations to make – also and especially for tours of several days away from well-worn hiking routes and strictly coordinated infrastructure. The perfect tent should be selected according to the same criteria as for every decision in respect of outdoor equipment: Where does this tour lead and how long will it be? What will the weather be like and what temperatures can I expect?
For a tent of course the number of co-travelers is also important. From the ultra-light one-man-tent to the spacious family tent, you will find practically everything in the Tatonka range: Robust and durable all-round tents as well as heavy-duty high-end tents, suitable for extreme conditions. The differences are mainly in the materials used and in the holding rods.
What tent to take on your tour?
The form of the tent is also dependent on its purpose: Self-standing cupola tents and geodesic tents provide a high level of stability in a storm or in snow, have a smaller ground area than comparable tunnel tents and are therefore especially suitable in mountainous or rocky regions.
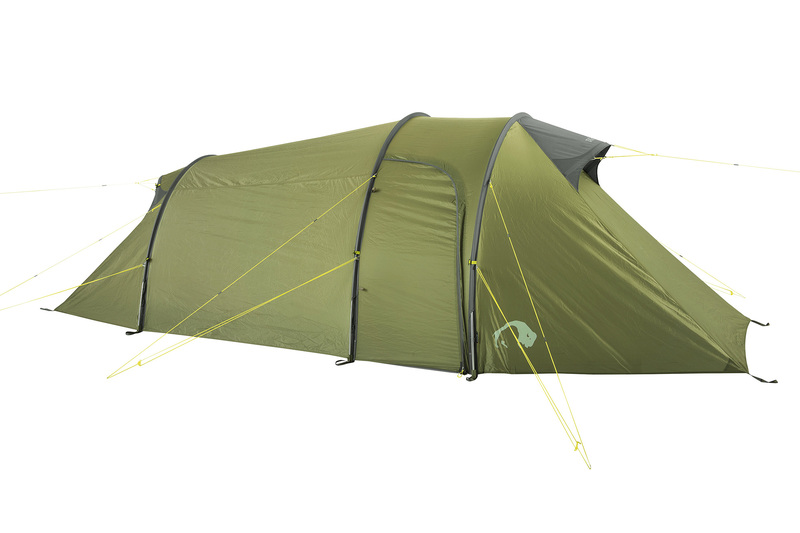
Tunnel tents are relatively light for their size and provide good usable space. When erected with the narrow side to the wind tunnel tents are extremely wind stable – but more about this later. Tunnel tents are therefore particularly well suited in regions with bad weather or changeable weather.
If good weather and warm temperatures can be expected and maximum practicality at minimum pack weight is a criterion, then a “mini-tent” can be chosen: Tarps are waterproof tarpaulins that have an anchoring eye at each corner and additional fixing loops along the seams. They provide protection from rain and also provide shade, provide shelter over a comfortable hammock, can be used as a rucksack cover or even as a kayak sail.

Tents by Tatonka
Whether a light 1-person tent for your next trekking tour or a family tent with a spacious kitchenette for your next camping holiday:
At Tatonka you are guaranteed to find the right tent.
“You make your bed and you lie in it”: Good preparation is essential
The ideal place for a recuperative and relaxing night is dry, flat, slightly elevated ground where dampness cannot collect. Before the ground sheet is spread out to protect the bottom of the tent, all pointed or sharp objects such as small twigs or stones should be cleared away.
The tent poles are then fitted together. In the case of tunnel tents the length of the curved rod poles gives you the clue as to where in the tent these are used. The interior tent of the Tatonka tunnel tent is usually suspended in the exterior tent. When erecting the tent your orientation is the ventilation panels that as a rule are on the narrow sides of the tent.
Good to know: Camping in a thunderstorm – How to protect yourself from lightning
Erection: Stable construction with only a few hand movement
Simple, quick and secure erection if you set up the small end of the tunnel tent against the wind and fix it to the central loop with a tent peg. The curved rods are then introduced into the channels that are open at one end only, at the other end they are inserted into a fixing cup – ideal therefore if only one person is putting up the tent. The curved rods are pushed evenly through the channels to the take up end and then tensioned. Then take hold of the tent on the side that is not yet fixed in place, the side away from the wind, pull it open and let air in. Then fix the sides in position.
In the next step the ground sheet should be arranged so that it does not protrude from under the tent to ensure that if it rains water does not run onto the ground sheet and under the tent. The remaining tension points are then fixed with more tent pegs; the number of tent pegs to be used also depends on the weather: The stronger the wind, of course the tighter and more secure the tent must stand.
In this case the tensioning lines are practical. They are found on various places on the tent and can be used for additional tensioning of the tent. The tent is given a better trim if the lashing straps are pulled tightly to the poles.
… and off you go again! – So easy to dismantle and pack away your tent
Taking the tent down again is just as easy and precise as putting it up. Firstly all the zip fasteners should be closed including the entrance to the inner tent. Release tension with thumb pressure on the clasps of the curved rod channels. The tent pegs on the downwind side can now be taken out and the tent collapses.
The curved rods are now released from the side fixings and pushed out of the channels. The rods should not be pulled so that the individual segments do not come apart and get stuck in the material. It is best to fold the curved rods together again immediately. Here it is important to make sure that no dirt or any bits like twigs or stones can get into the tubes.
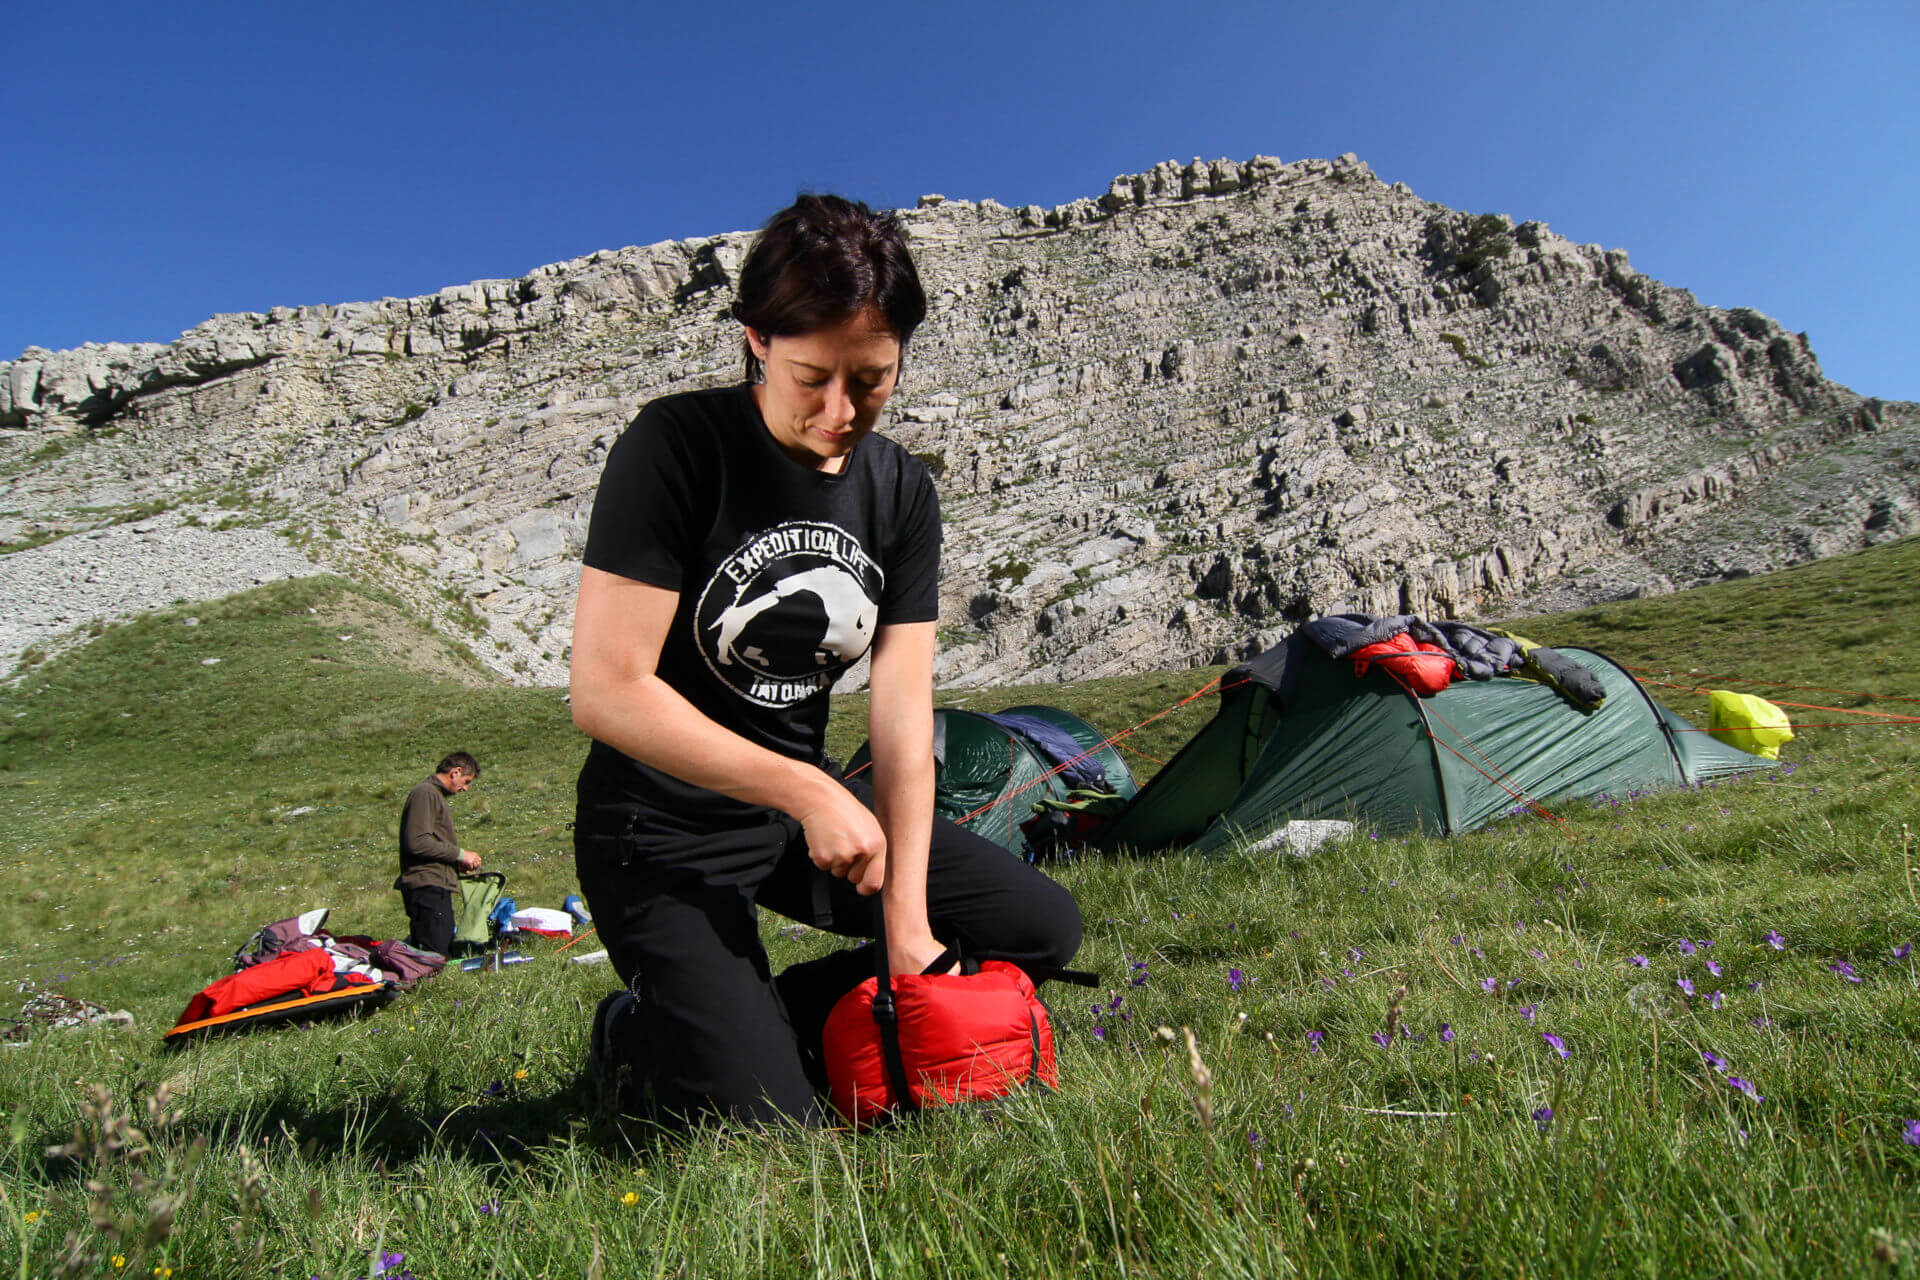
The tent is now pulled out lengthwise, laid out on the side and loosely folded; it is a great help that the one side is still anchored to the ground with a tent peg. This last tent peg should only be removed right at the end and the tent now folded completely. The packsack, thanks to its roll closing, helps to compress the tent so that it easily fits. Finally the ground sheet is cleaned from dirt and also folded together.


