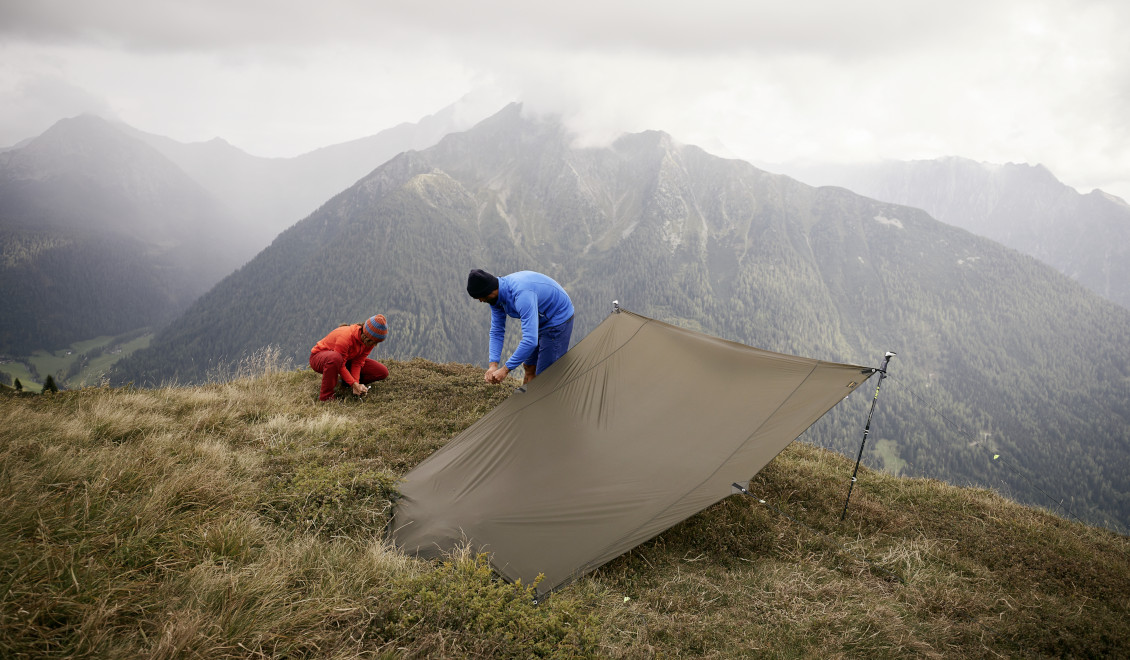
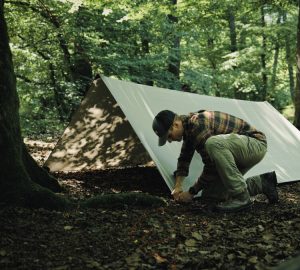
Its low weight and versatile possibilities for use make the tarp an uncomplicated substitute for a tent and ideal to take with you on a wilderness tour, especially in warm regions. There are numerous possibilities for setting up the tarp – depending on the purpose and available material with no limits to the imagination. We would like to describe here some of the most common of these.
Basically a tarp can be erected just as quickly as a tent – provided that you use tarp poles or hiking sticks. Otherwise you can use the possibilities provided by nature – for this you need imagination and a few skills. For the basic equipment when camping under a tarp you need a ground mat and sleeping bag together with a separate ground sheet to keep your “camp” dry and clean. If only one person is to sleep under the tarp, it is enough to select a ground sheet that is just a little broader and longer than your mat. The ground sheet should not protrude beyond the tarp otherwise rainwater could gather on it.
The important thing when erecting your tarp is to firmly anchor the side of the tarp that faces the wind closely to the ground. The more stormy the weather, the flatter the tarp should be, such that there is less surface area for the wind attack.
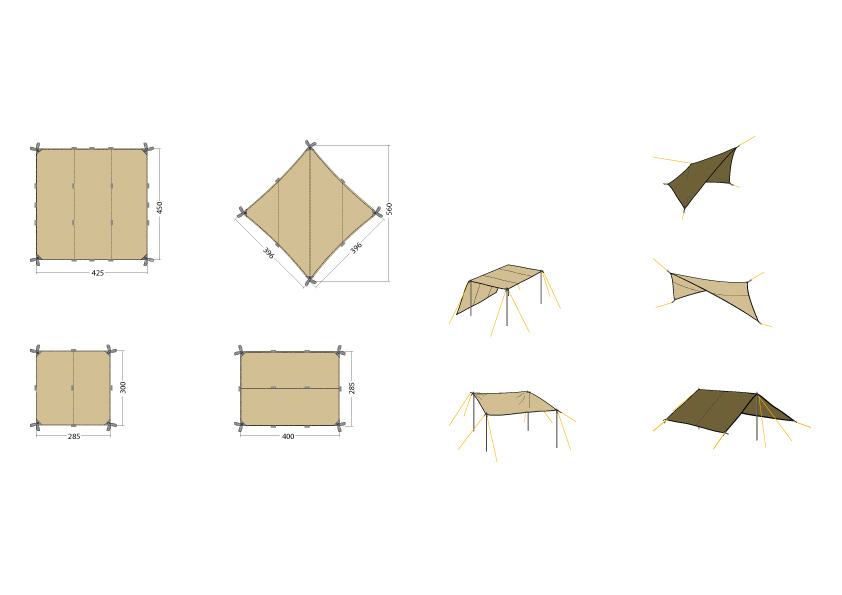
How the tarp is best erected really depends on its purpose: Is it to be used as a place to sleep or as a roof under which people can come together, as a sun shade or wind protection? Basically for the erection of a tarp with the intention of using it as a roof, it must be ensured that rain cannot collect at any one point.
Here we recommend that you fix up your tarp in the style of a folding roof that, although this way it does not provide as much space underneath, nevertheless allows the rain to flow off evenly. For all variations with your tarp – there should always be a place for the rainwater to flow off: For this reason, too, all fixings, whether poles, branches or tensioning points (guy ropes), should be at the same level.
Also interesting: Basics on tent repair – When and how to repair your Tatonka tent – and when to send it in
No limits to imagination
Sloping Roof
Quick and uncomplicated you can build a Sloping Roof. Depending on the size of the tarp, you can quickly make space for yourself and your backpack. The disadvantage of this sloping roof, however, is that only one side is fully protected against the weather. The tarp is fixed to the ground along one long side and on the other side on a guy rope fixed between two trees. When erecting the tarp in this way you should make sure that a run-off channel has been dug in the soil such that any rainwater running down the sheet does not run underneath the tarp.
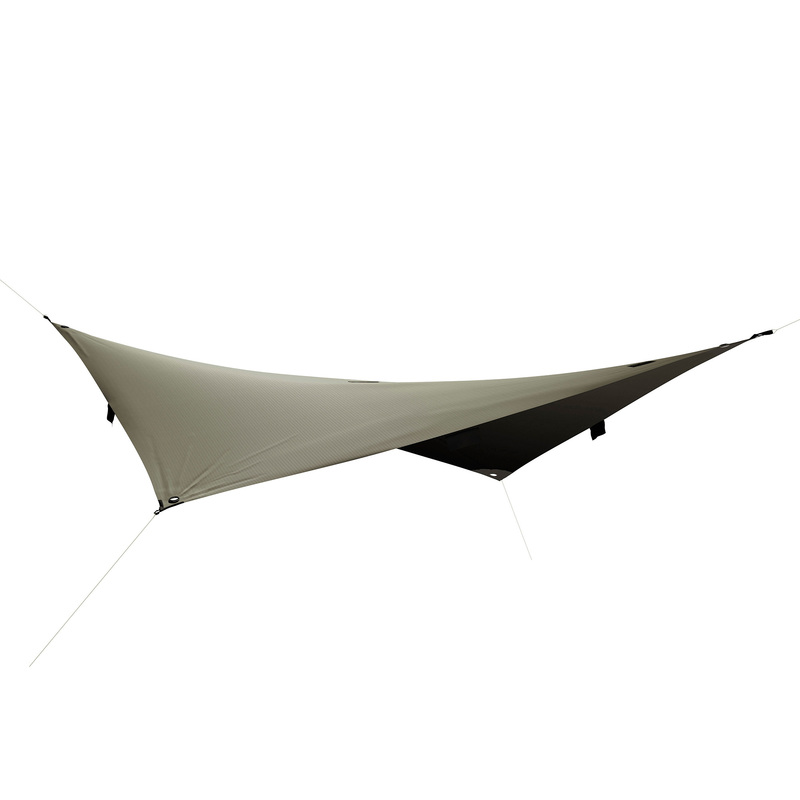
Tarps are truly multi-talented. Whether as sun sails or as protection against wind and rain.
Long Tent or Pointed Roof
The Long Tent or Pointed Roof version can be erected in a number of different ways and at differing heights, either directly above ground or in the case of consistently good weather conditions with open sides. The load-bearing cable can be spanned with the aid of the tarp poles or between two tree trunks. The long tent version offers a comfortable place for one person, or possibly also for two persons who are happy to spend their night quarters close together. The height at which the tarp is spanned of course influences the space available and the wind resistance: The lower this is, the less space there is but at the same time, the more wind resistance.
A more sophisticated version of the pointed roof can be erected with four tarp poles anchored at the corners. In the middle of the tarp, a cable is suspended between two trees or fixed to tarp poles or similar. This version offers comfortable space for two ramblers together with all their gear.
Good to know: Basic knowledge tent maintenance – 5 tips for the correct storage and maintenance of tents
Improvised Tent
An improvised tent can be made by spanning the tarp at the four corners and along its length. The highest point at the center can be supported by a tarp pole or branch (lower end of the tarp pole placed in upward position so as not to damage the material). If one side is left higher, this provides more comfort in entering and leaving.
Seashell
The tarp can become a “Seashell” for outdoor use when three sides are fixed to the ground at a relatively low angle; the fourth side can be closed or opened with a tarp pole, a hiking stick or a paddle. This tarp version has only a small surface area exposed to the wind.


