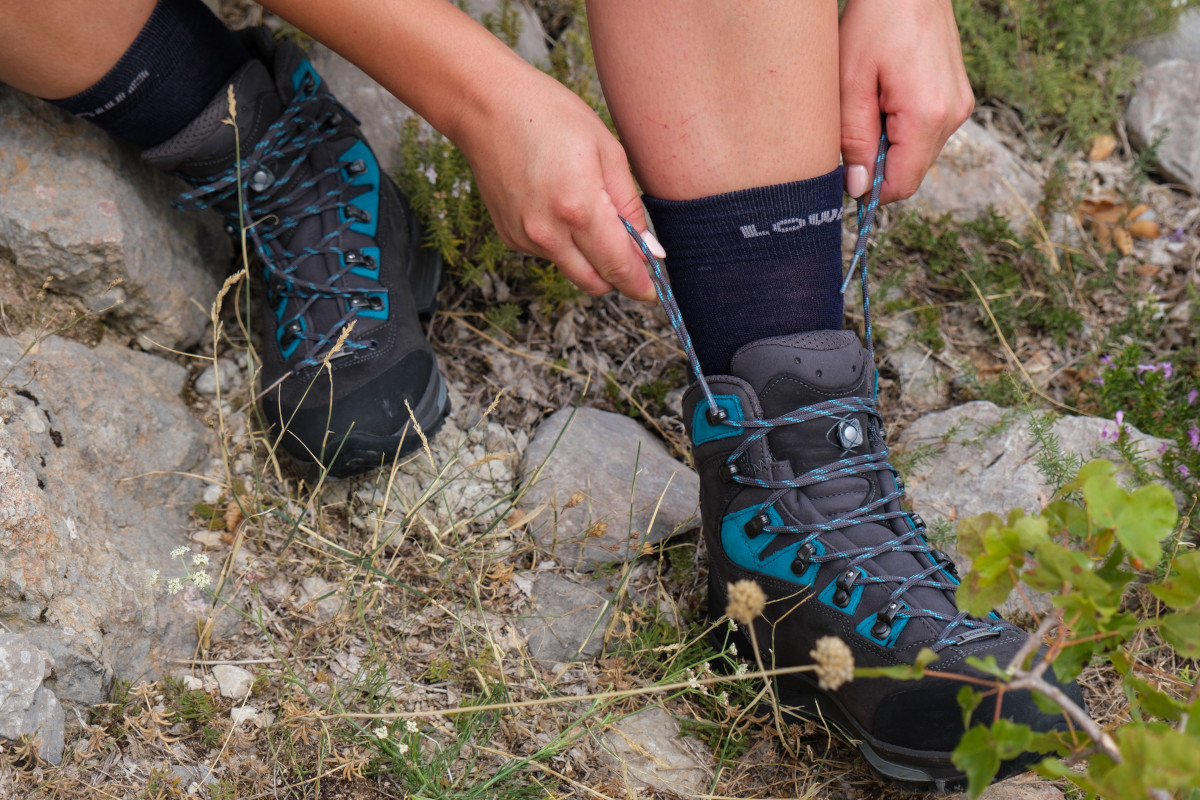
An extensive hiking tour in magnificent sunshine lifts the outdoor aficionado’s spirit. Lacing your hiking boots correctly is, however, the most important thing before you start. Because pinching shoes quickly spoil the party. To avoid pressure marks and blisters, the right fit of your trekking or hiking boots is just one thing to consider. Tying them properly is at least as significant. Here, you’ll learn what’s important when it comes to lacing.
After hiking, blisters on your feet are a nuisance – especially if you’re on the road for several days in a row. How important it is that trekking or hiking boots fit perfectly doesn’t need to be emphasized anymore. When buying your shoes, it’s best to get advice from a specialized shop and try on different models until you’ve found the perfect one.
Tip: Buy your hiking boots in the afternoon. Your feet are slightly bigger/thicker than in the morning right after getting up. This resembles the situation of your feet while hiking, since they usually swell a bit. In our blister guide article, we tell you what other ways there are to prevent blisters and how to treat them if you do get them.
However, proper footwear doesn’t guarantee that your hiking experience will be free from blisters. It’s equally important to pay attention to a few things when you tie your shoes before and during a tour.
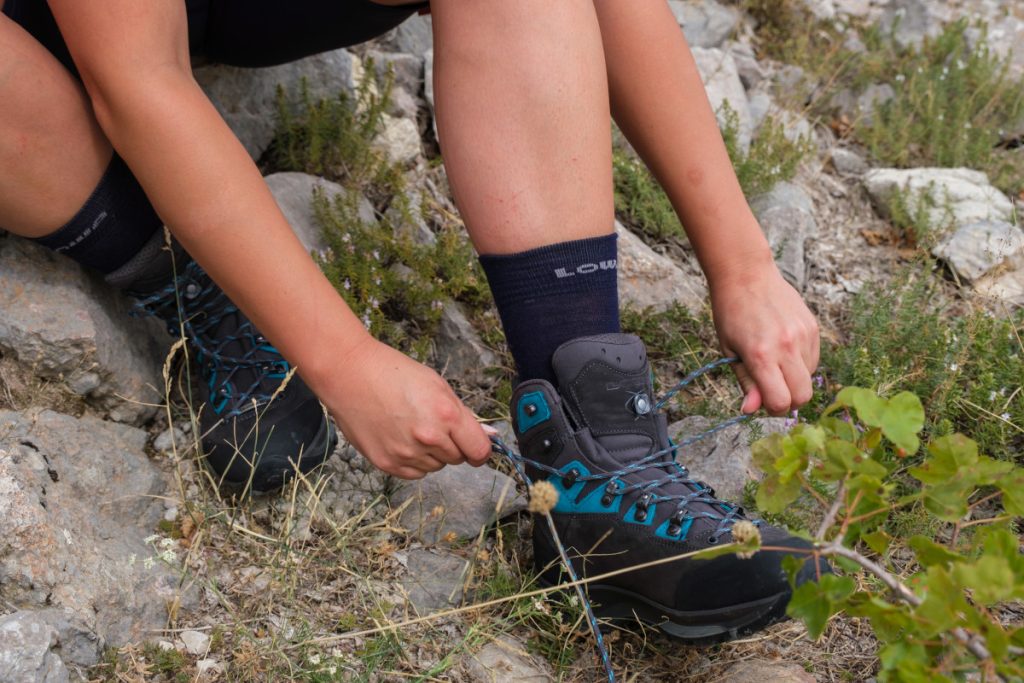
Basics for the proper lacing of hiking boots
- The tongue needs to be centered
A shoe’s tongue (flap) slipping to the side can cause unpleasant pressure marks – especially if this creates a crease. The pull of the straps cannot spread evenly. Make sure that the tongue is located in the middle and check every now and then during the hike whether everything is still in place. Some hiking boots also have a hook that fixates the tongue in the center.
- Tie up from time to time
Half an hour after you started your hike you should lace your hiking boots again, since your foot changes through activity and temperature. On longer hikes, it makes sense to tie your shoes again from time to time.
Reading tip: Are cows dangerous for hikers?
Two zone lacing
If you tie your hiking boots normally, it can happen that they are very tight at the top, while you don’t have enough support at the bottom or vice versa. Two zone lacing helps you to create the right tension in both areas independently.
Uphill it is recommended to tie the instep area (the lower part) a little tighter. This will give you more stability. At the top of the shaft, a loose lacing will give you more freedom of movement. Downhill it is good to tie the shaft area tighter from the bend upwards. This helps to fixate your foot and prevents it from gliding to the front.
Two zone lacing needs a deep-draw hook (=locking eye), which most hiking shoes have. These are the eyelets at the transition from instep to shaft, which are slightly further out than the rest of the eyelets. Now thread the thrust straps from top to bottom through the locking eyelet, creating two friction points. This creates two zones and the tension is maintained perfectly in both the shank and the clamping area.
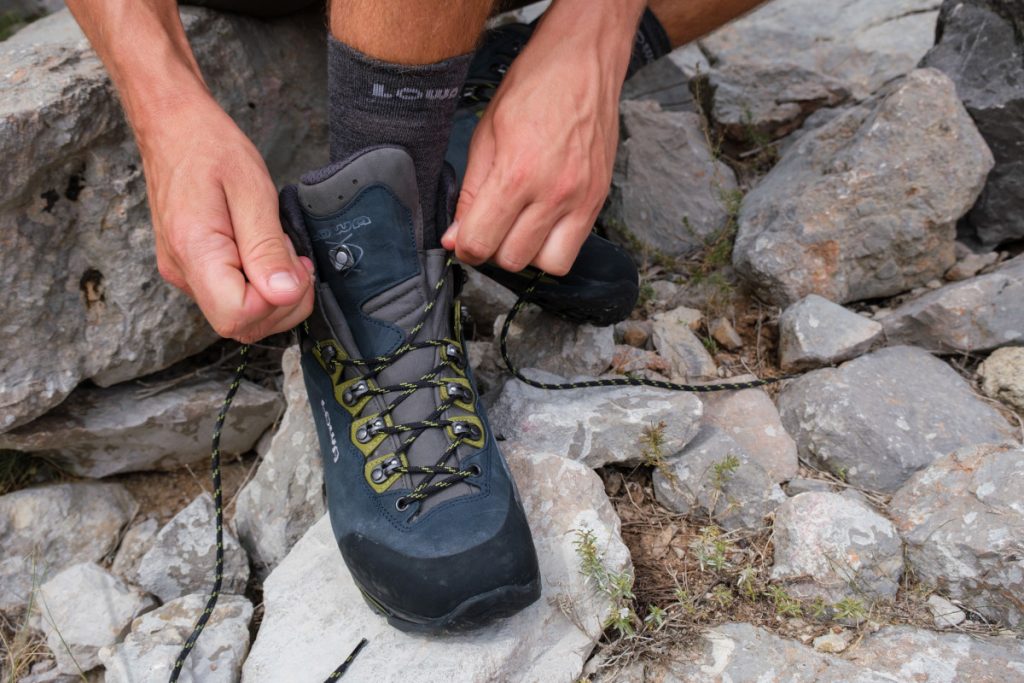
The pulley technique
It’s especially uncomfortable when your heel slips out of your shoe while walking. The heel rubs against the shoe with every step and causes painful blisters and chafed areas. The pulley technique provides a remedy:
With this lacing technique you thread the shoelaces directly from the last eyelet into the two deep draw hooks. Do not cross the laces. Next, thread the opposite end through the lace that connects the eyelet to the deep draw hook. If you now pull on the laces, your foot will be pulled deeper into the shoe. The heel has more stability and there is less friction. Above the “pulley” you tie your shoe normally.
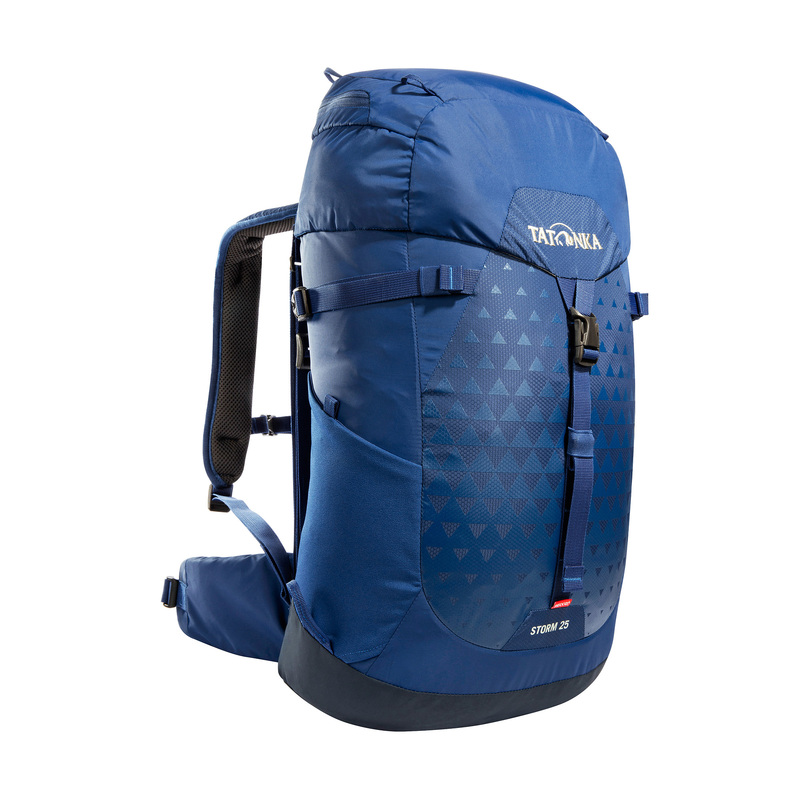
Your hiking boots are ready, only the right backpack is missing?
Find the right hiking backpack for your next tour at Tatonka. With ventilated carrying system, with lid or zipper opening and with different volumes.
Omit intersection and relieve pressure points
If you already have a pressure marks on your foot or notice that your shoes are pressing sideways on the back of your foot or the forefoot, the following trick can help: Simply leave out a cross at the appropriate point and thread the shoelace directly from eye to eye without changing sides. This will give your foot a little more space in this area. The pressure mark is relieved on this specific area.
Use the right bootlaces
The laces of hiking boots match the shoe. You shouldn’t change them prematurely. On the one hand, the thickness of the straps exactly matches the diameter of the eyelets. This enables self-locking deep draw hooks to function properly. On the other hand, laces are flexible so that they can adapt perfectly to the shoe and foot’s shape. If you use a tight string instead, this flexibility is lost, resulting in pressure marks. So if a shoelace is broken or torn, it’s worth finding an adequate replacement before the next tour, instead of using the first available string.
Also interesting: Tips for the care of your hiking boots – Protecting what protects you
Use suitable hiking socks to avoid blisters
Proper socks are essential to keep blisters and pressure marks to a minimum. They provide cushioning at problematic areas such as the heel and ball of the foot. Especially with waterproof shoes necessitate socks that absorb a lot of sweat without feeling wet. Socks made from Merino-wool are a good choice. Cotton is not suitable. It loses its shape when soaked with water, wrinkles, and starts to stick to the skin. There shouldn’t be any friction between foot and shoe to avoid blisters. Therefore, it’s crucial that the socks fit perfectly.
Tip: If you tend to get blisters, you can try wearing thin and tight nylon socks under your hiking socks. In doing so, the fabric of the hiking socks does not rub against the skin, but glides gently across the nylon socks.
The proper shoe
The lacing techniques are similar for all types of outdoor shoes – provided the shoe closes above the ankle. However, lacing low shoes is usually not a big problem anyway.
Depending on where and how you travel, different types of shoes are suitable. Ideally, you know the purpose of the shoe beforehand, so that you can try on different types.
If your shoe is pinching, it doesn’t mean you have to buy new outdoor shoes immediately. Just try changing the lacing. It only takes a few minutes. Once you know a few techniques, you can make adjustments during a tour until you find the ideal tension.


